In Amos chapter 3, Amos preaches to the Israelites about how they have treated God's messengers. Even though they are not willing to listen to the prophets and have told them all to shut up, Amos is more afraid of not listening to God than listening to them - and their efforts to shut him up will be futile.

Memory Verse: “Surely the Lord God does nothing,Unless He reveals His secret to His servants the prophets.A lion has roared!Who will not fear?The Lord God has spoken!Who can but prophesy?” Amos 3:7-8 NKJV.
Materials needed to create the The Lion Roars quiet book page:
- A4 felt background sheet - I used dark brown
- my free Amos 3 - The Lion Roars Bible Quiet Book Template Pattern
- felt in light brown, hot pink, light pink/very light brown, black and white
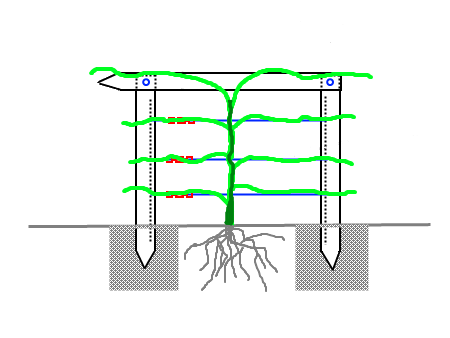
- 6 black grommets and tool set - I used 3mm inside diameter (perhaps 5mm height)
- 2mm elastic in black or gray - I used 3 lengths of about 20cm
- two round buttons for the eyes
- various ribbons in orange, gold, yellow, red and browns for the mane
- two 33mm white horn buttons for the teeth - I bought this in colour 4 (not an afiliate link)
- sewing threads to best match the page
- scissors!
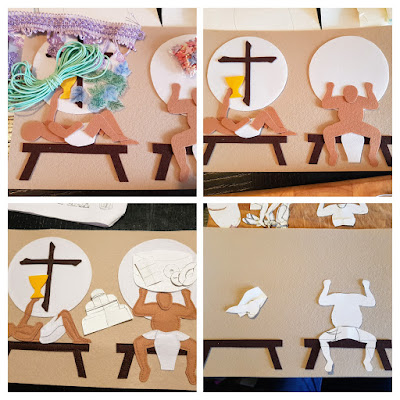
Cut all the pattern pieces (you can use these to help with positioning pieces later).
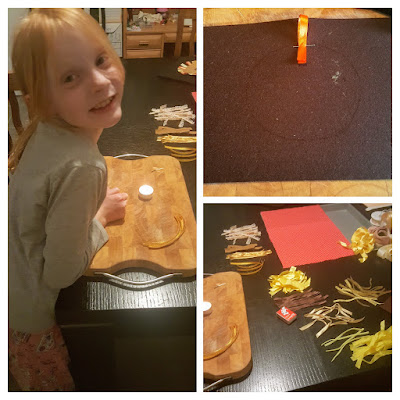
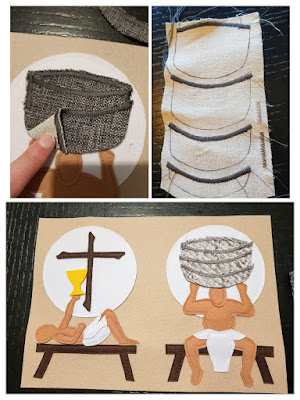
Cut the ribbons into lengths about 12cm long and melt the edges - see my post on How to Stop Ribbons Fraying. Sew them down as a mane under where the lion's head will be. I used a lot of zig zag stitch to sew things down underneath where they wouldn't be seen.
 |
| I often make more than one page at a time. The extra sewing is not too bad when you don't have to change thread colours, and that way I can have extra pages for presents and a practice run before sewing the real thing. |
Sew the inner ears to the outer ears and then the outer ear to more felt and cut them out. Sew them in position too.
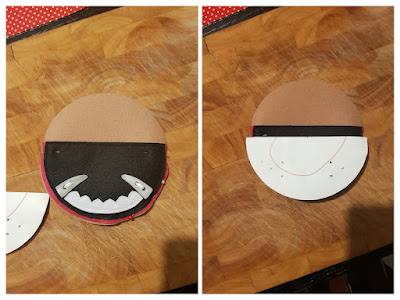
Cut and sew down the white teeth to the pink inner mouths about 5mm from the edge to allow the sewing machine foot to pass later on.
 |
| I cut out the mouth from black instead of pink, but thought it might make a good experiment to do it that way too. I took a photo so you can see and compare and decide which way you prefer. |
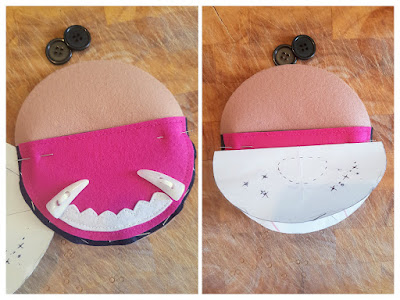
Sew on the white horn buttons to form teeth making sure that the upper and lower jaws will close without the teeth impeding on each other.

Then sew the pink inner mouths to black outer mouths (upper and lower) and sew the lower mouth/jaw in place.


Sew the nose to the head and insert the grommets. Thread the elastic through from the front to the back and back to the front through the opposite grommet. When you pull the top right whisker it should shorten the bottom left and so forth. Knot the ends to prevent the whiskers pulling out. I taped mine down out of the way so I could sew the next section.

Using matching threads to the mouth and head (match the felt not the spool and bobbin), sew the upper mouth/jaw to the head underneath where the nose and whiskers are along the outer edge only (otherwise you will have a sewn line across the lion's face), stopping about one centimetre short of either end.
Place the head in position and fold back the top section so you can attach the inner jaw lining using zig zag stitch. Sew the head using normal stitch to attach the head on top of the mane and ears along the outer edge meeting your previous sewing at the jaw.

Sew on the buttons as eyes.
Finished!
Difficulty Level = Intermediate
The hardest part of this page is sewing the the top mouth section together with the teeth already handsewn on - just make sure you leave enough room for the sewing machine foot to pass.
Installing grommets can be intimidating, but once you try, they are easy and make you very satisfied with your efforts! The following YouTube tutorial by Irina Sorokina from My Craft Quiet Books should help.
Eyelets and grommets - My Craft Quiet Books
Key Learning Areas and Skills
- Amos 3 - It is better to listen to God than man
- Imaginative play - open and close the lion's mouth and give a big roar (ok, so this page may not be so quiet!)
- Pull Strings - do you dare to pull the lion's whiskers?
- Fine Motor Skills - all quiet books encourage fine motor skill development
- Hand-eye Co-ordination - all quiet books encourage hand-eye co-ordination
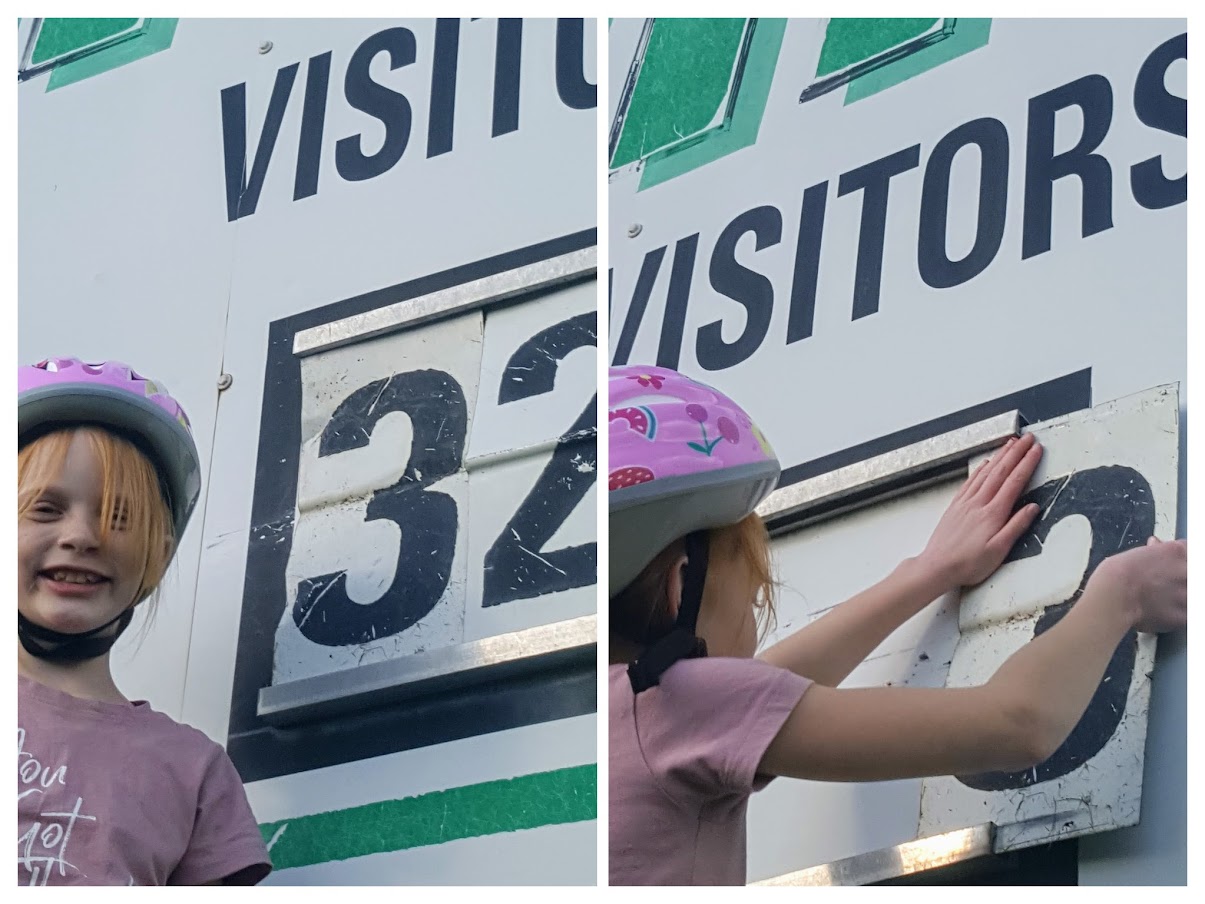
Tahlia says the memory verse and explains how to
pull the lions whiskers and make him roar.
Read the Chapter
Amos 3Devotional
Amos chapter 3 contrasts Amos chapter 2 where the prophets of God are silenced by the people.
Amos has a healthy view of God and man however, and knows that when the lion roars you better be scared. And when God speaks, Amos prophesies!

If there is something we need to know about beforehand, we are assured God will (or has) let us know. Amos is warning Israel, Judah, and their neighbouring nations about the coming destruction of Assyria and Babylon. But of course the coming destruction prefigures the coming destruction of the entire world at the end.
When the lion roars, we would do well to listen. God has told us the end from the beginning and continued telling us all through the middle. God makes no move without telling us - just like a parent warns their children that if they don't eat their dinner they won't get desert. The end should come as no surprise to anyone who has been listening.
God Reveals His Secrets To His Servants (Amos 3:7)
The memory verse for this chapter is one of my treasured verses. I have been researching the Second Coming for a while now, and here, God claims that He will do NOTHING without telling us first.
It is a very common belief that Jesus will surprise everyone at His second appearance, but I have found that God tends to be very predictable. And I think that is because He is trustworthy, and repeats Himself in so many patterns in an attempt to get things through to our distrusting selves.
 |
| History has followed the pattern, so will the future. |
Jesus fulfilled prophecy to the minute at His first coming - he died at the time of the evening sacrifice on Passover, having entered Jerusalem on the 10th of the month, just as the lamb set aside for the purpose must have done. Why would He not fulfil prophecy exactly at His return?
The spring feasts were fulfilled at His First Coming - I believe the fall feasts will be fulfilled at the Second Coming.
To see how No One Knows The Day or Hour fits into this, you can read the article by Hebrew Roots.