I will eventually have posted enough Easy Peasy quiet book pages that you can make a whole book full... this is number 5!
You might notice that it is very similar to my last post Matthew 24 - Gospel to the Nations Quiet Book Page. I made them at the same time, although I made two of this version for a couple of books I made for some friends.
This page is suited to the toddler age I reckon, and it is great because there are no loose pieces. And no loose pieces means that they can't get lost!
This page was actually my sister's idea which I have copied. She made something similar for a page in a book she gave to a friend, and when I asked her to share her pattern with me, she said she didn't make one and that she didn't even take a photo before she gave the book away! Not happy, Jan.
My sister's page differed a little from mine, as she had an entrance to the tunnel at both ends (you can easily flip my template and make it an entrance at both ends if you like). She also had a mountain over the tunnel which it went through. I suppose that is better because there is actually a need for a tunnel in that case, but I wanted an Easy Peasy page and here it is...

How to make my Train and Tunnel Pull-String quiet book page:
Materials needed:
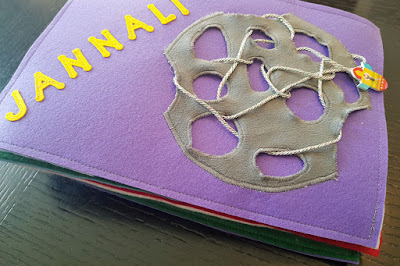
- felt scraps in gray
- thread to match
- window blind sample in stone colour to tie in with felt
- background fabric
- 30cm or less of 9mm wide ribbon
- train button
- hot glue and glue gun
Cut out the template from my Train Pull-String Quiet Book Page Free Template Pattern.
I used a pen to copy the template onto the back of my felt (just remember to reverse it if you want the tunnel on the same side as the template). Cut out the tunnel, sew it down to the same felt, and cut it out again.