This DIY felt board set has been a real hit! I think for the lower primary aged kids numbers and letters become pretty fun.
My sister says her kids wouldn't even know what a Hymn Board is. Even though they attend church every week, they go to a church where hymns are seldom played, contemporary Christian music dominates, and the words are projected onto a screen.
1. Use the template to cut out your pieces (for the number cards it would be easier to rule up a piece of white felt and cut them out that way but I included the piece for size reference). I made 63 number cards (six of each number 0-9) and 3 colon cards for displaying the time. That way there is an extra in case one gets lost. My white felt sheet divided into 63, so that is how I decided how many to make. Plus 60 number cards is a common amount if you were to buy a set for an actual hymn board, so I figured there would generally be enough of each number required.
2. Double the thickness of your black runners by sewing them to another piece of black felt and cutting them out.
3. Position your black runners in the positions shown on the next two pages of the template. You can cut out the black runners places on the positioning templates and lay the runners in the position and pin, then remove the template. It doesn't matter if it rips when you take it off.
4. Sew the runners down the center for the ticker ones and either the upper or lower edge of the thinner ones to allow the number cards to slide into the track formed.
5. Use an original sizzix to cut out the required letters and numbers and sew in place on the backboard and number cards. I used the centers of the zeros to make the colons for the sunset times.
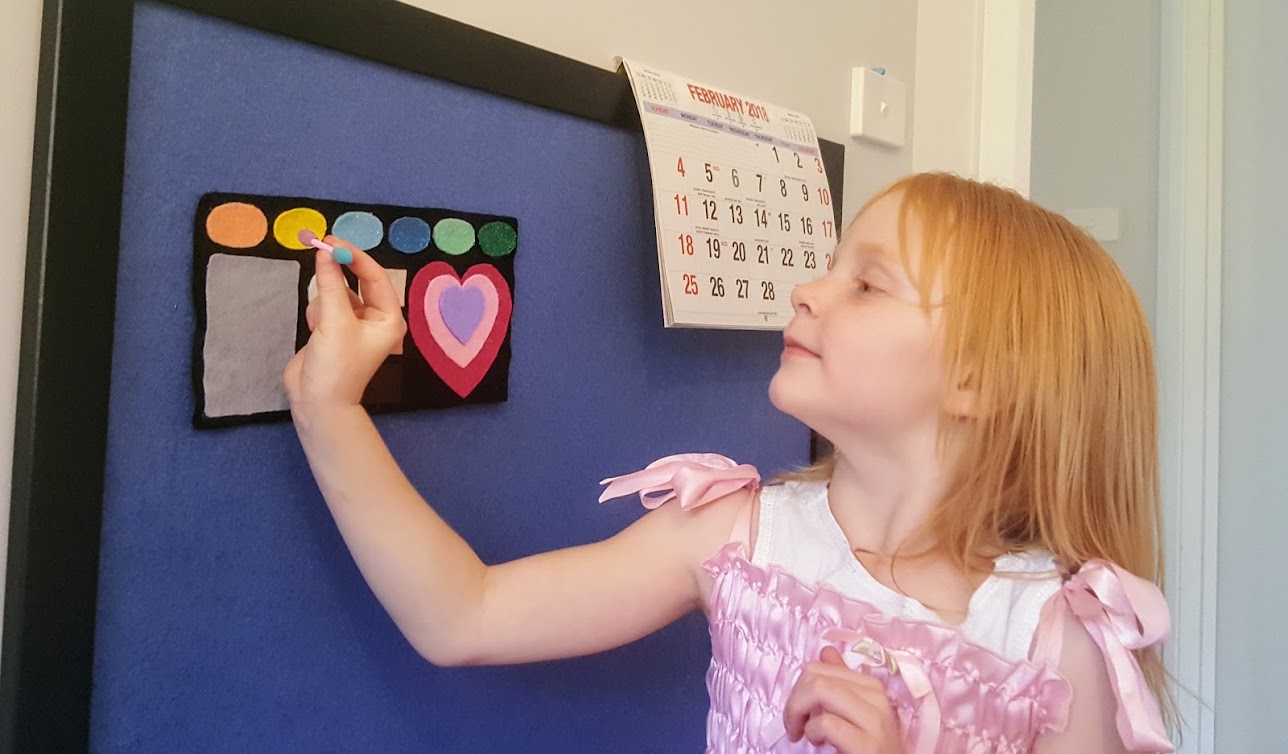
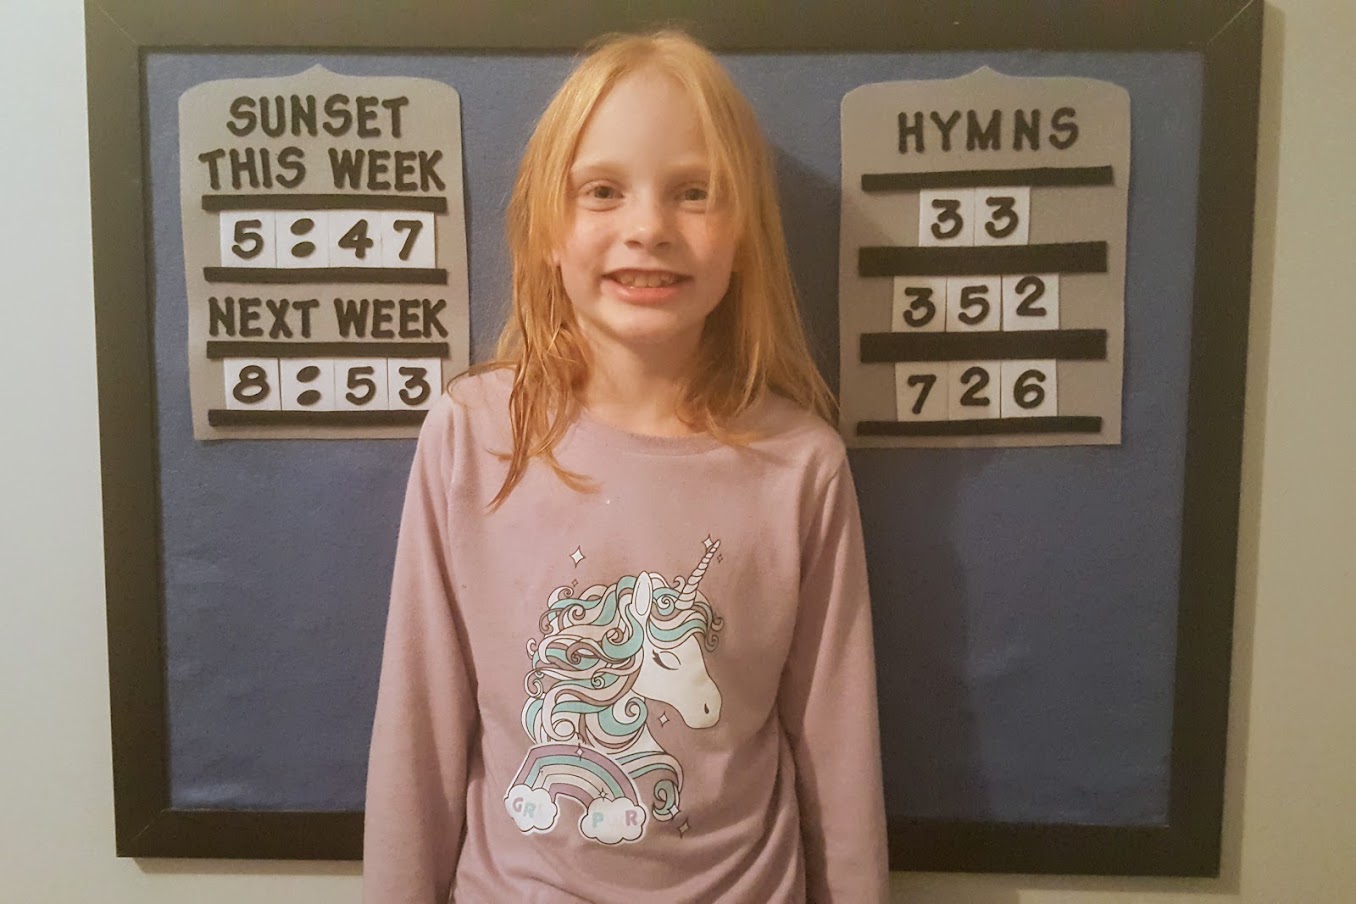
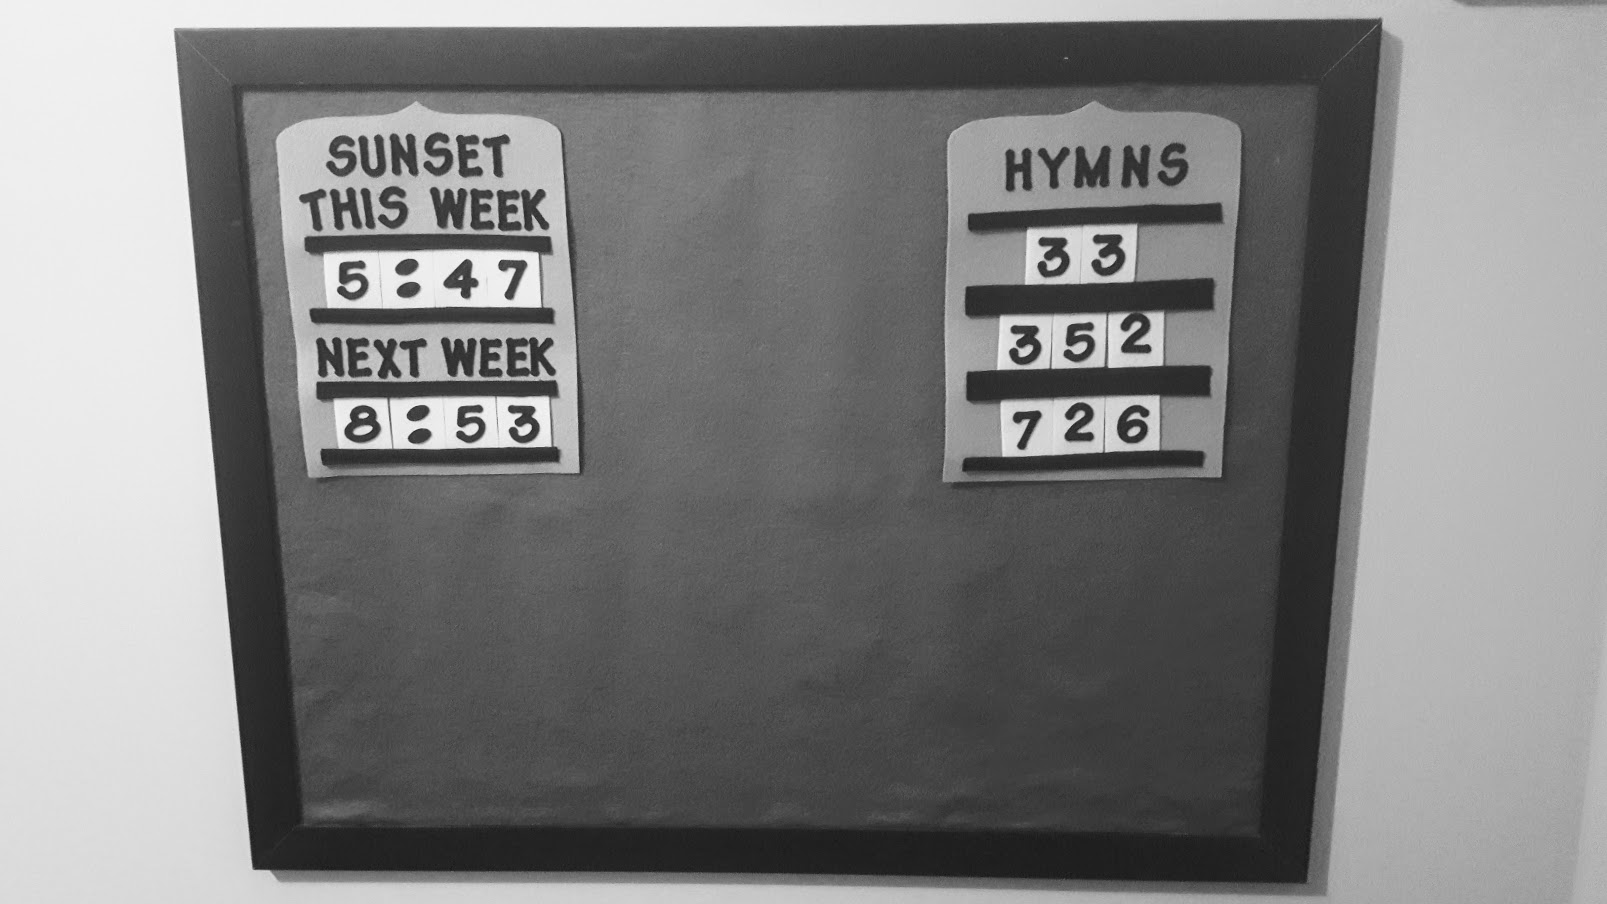
6. Play with your DIY Hymn Board & Sunset Times Felt Board Play Set!
If you make one of these please tell us about it below or send us an email with a picture. It would make our day. It actually took me at least 1.5 hours drawing up the template on this one so you guys could download it (not including the design time so I could make it initially) so it would really make it feel worthwhile to see some pictures if you do make one 😍

Fortunately for us, we often visit smaller country churches where a hymn board is still mounted on the wall and a Hymnal can be found tucked into the back of a pew.
I have been singing Tahlia to sleep with hymns since she was born so she knows a few and it melts your heart to hear her randomly singing them.
Because we believe in keeping the fourth commandment, our church also has a sunset times board on the opposite side of the pulpit to the hymn board. In Genesis God says there was evening and there was morning, the first day and so on. Like the Jewish people, we know that the day begins and ends at sunset. So it is handy to know what time sunset is so we know when Sabbath is coming.

I had intended that these would be part of a church (as opposed to Bible) themed quiet book, where Tahlia could copy the numbers from the board at church and kind of follow along with church each week. And they will probably make it there eventually, but for now we are having lots of fun with them mounted on our felt board like you would find them on a wall at church.
Tahlia has been learning to follow along with the words in a hymnal of late, and I have been encouraging her to flip through and find the right one that is coming up next based on what the hymn board tells us. Apparently that's not so fun... too much like school work I think. But for some reason the Hymn Board and Sunset Times Felt Board Play Set rates high on the fun scale.
How We Made the Hymn Board and Sunset Times Felt Board Play Set
You will need:
- Korean hard felt in gray, black and white
- Sewing thread to match
- My DIY Hymn Board and Sunset Times Felt Board Play Set Free Pattern Template
- A Sizzix Original and capitals lollipop alphabet/numeral die set or another method of cutting numbers about 2.5 x 3 cm in size - see my post on Letter cutting hacks. (Or you could just print them onto the felt using the sublimation/heat press method and save yourself a lot of sewing - see my post Sublimation Printing on Felt - Test).
1. Use the template to cut out your pieces (for the number cards it would be easier to rule up a piece of white felt and cut them out that way but I included the piece for size reference). I made 63 number cards (six of each number 0-9) and 3 colon cards for displaying the time. That way there is an extra in case one gets lost. My white felt sheet divided into 63, so that is how I decided how many to make. Plus 60 number cards is a common amount if you were to buy a set for an actual hymn board, so I figured there would generally be enough of each number required.
2. Double the thickness of your black runners by sewing them to another piece of black felt and cutting them out.
3. Position your black runners in the positions shown on the next two pages of the template. You can cut out the black runners places on the positioning templates and lay the runners in the position and pin, then remove the template. It doesn't matter if it rips when you take it off.
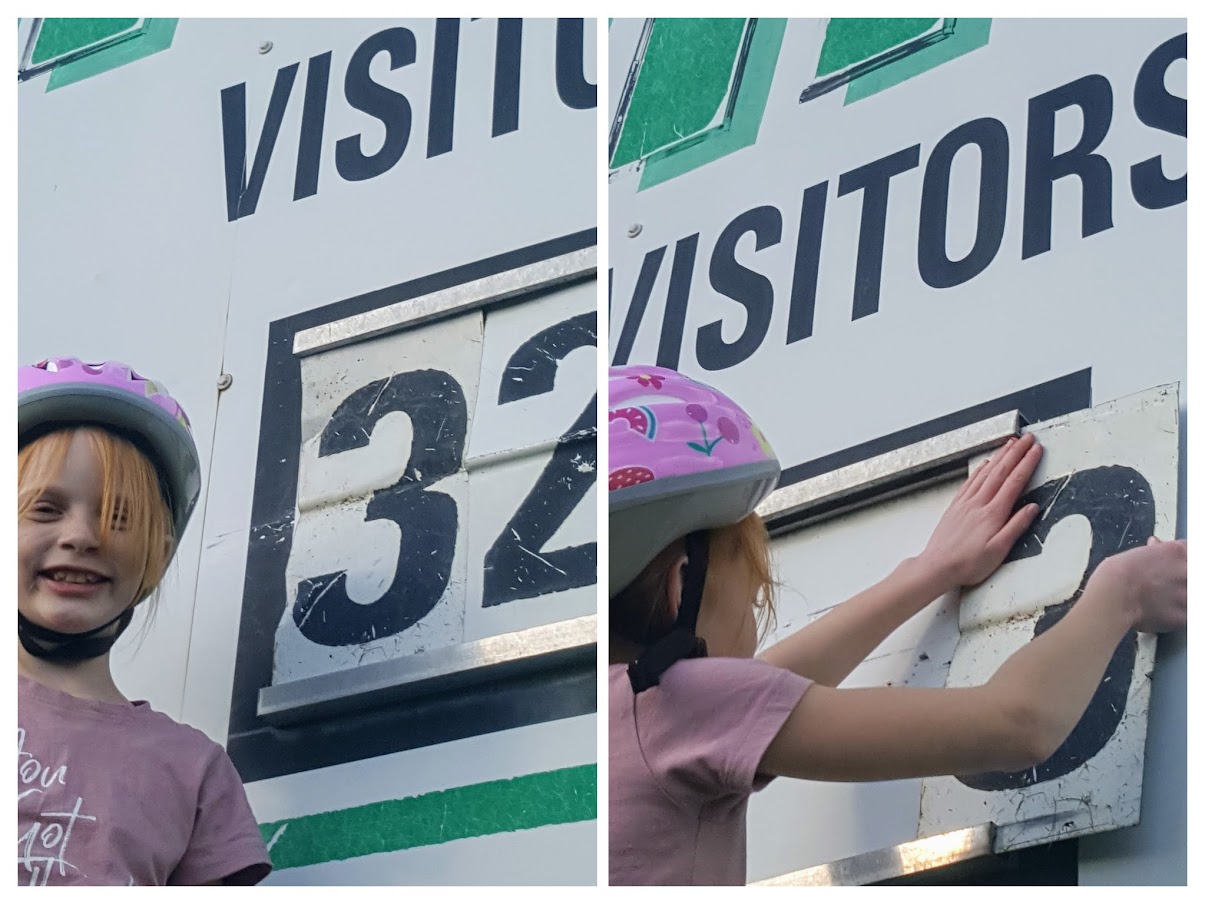 |
| You could use this pattern to make a sports score board too! |
4. Sew the runners down the center for the ticker ones and either the upper or lower edge of the thinner ones to allow the number cards to slide into the track formed.
5. Use an original sizzix to cut out the required letters and numbers and sew in place on the backboard and number cards. I used the centers of the zeros to make the colons for the sunset times.
6. Play with your DIY Hymn Board & Sunset Times Felt Board Play Set!
 |
| Baby likes to play too! |
If you make one of these please tell us about it below or send us an email with a picture. It would make our day. It actually took me at least 1.5 hours drawing up the template on this one so you guys could download it (not including the design time so I could make it initially) so it would really make it feel worthwhile to see some pictures if you do make one 😍