Sunday 8 October 2017

Ribbon Quiet Book Binding Method

The Ribbon Quiet Book Binding Method is a very simple way to put a quiet book together if you want the book to be completely bound. By 'completely bound' I mean that you cannot swap the pages in and out. It is a completely bound book and will stay that way.


The pillowcase closure has been pulled back underneath so you can see the layers side on.


Explanation Video


This is a method I came up with after trying Debbie's tutorial of How To make Cloth Books from her website Cloth Books for Baby. I tried her method on my Up-cycled Clothes Quiet Book, and while it was super simple, I found that the spine was rather thick and difficult to sew. It didn't help that I sewed some of the clothes right to the edge of my borders, but I guess that is what you get when you make a quiet book. Very thick pages.


So to combat this issue, I tweaked Debbie's idea slightly and came up with the Ribbon Quiet Book Binding Method.

I must warn you, I put this quiet book together very late, actually very early, on Christmas morning last year. It came together quite quickly, considering. If I was using the traditional quilted quiet book binding method, I am certain I could not have finished in time.


I think I may have already attached my Pillowcase Quiet Book Closure to the back cover before that night, but I can't quite remember. Let's assume that I had!


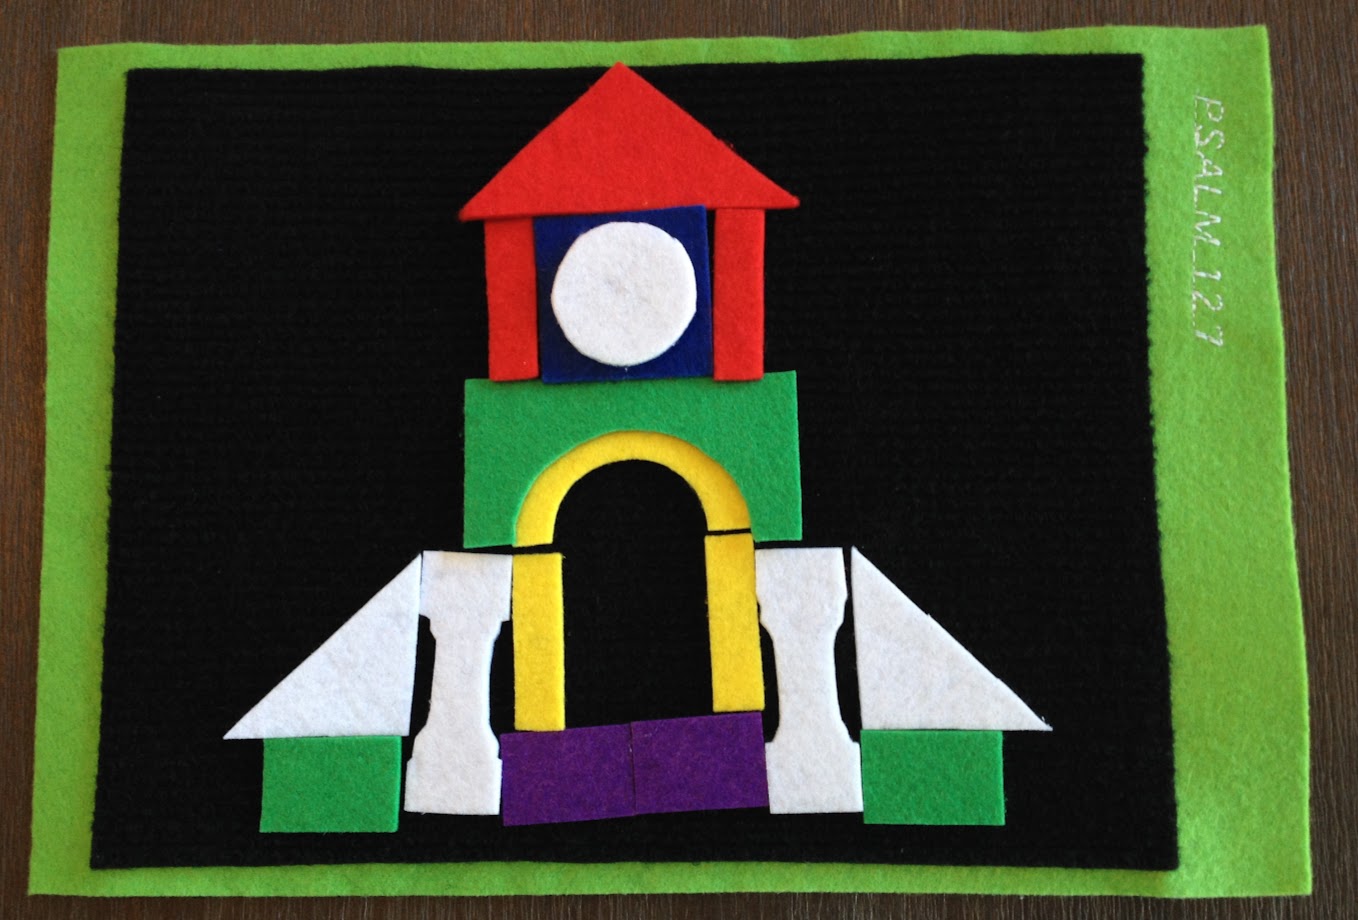
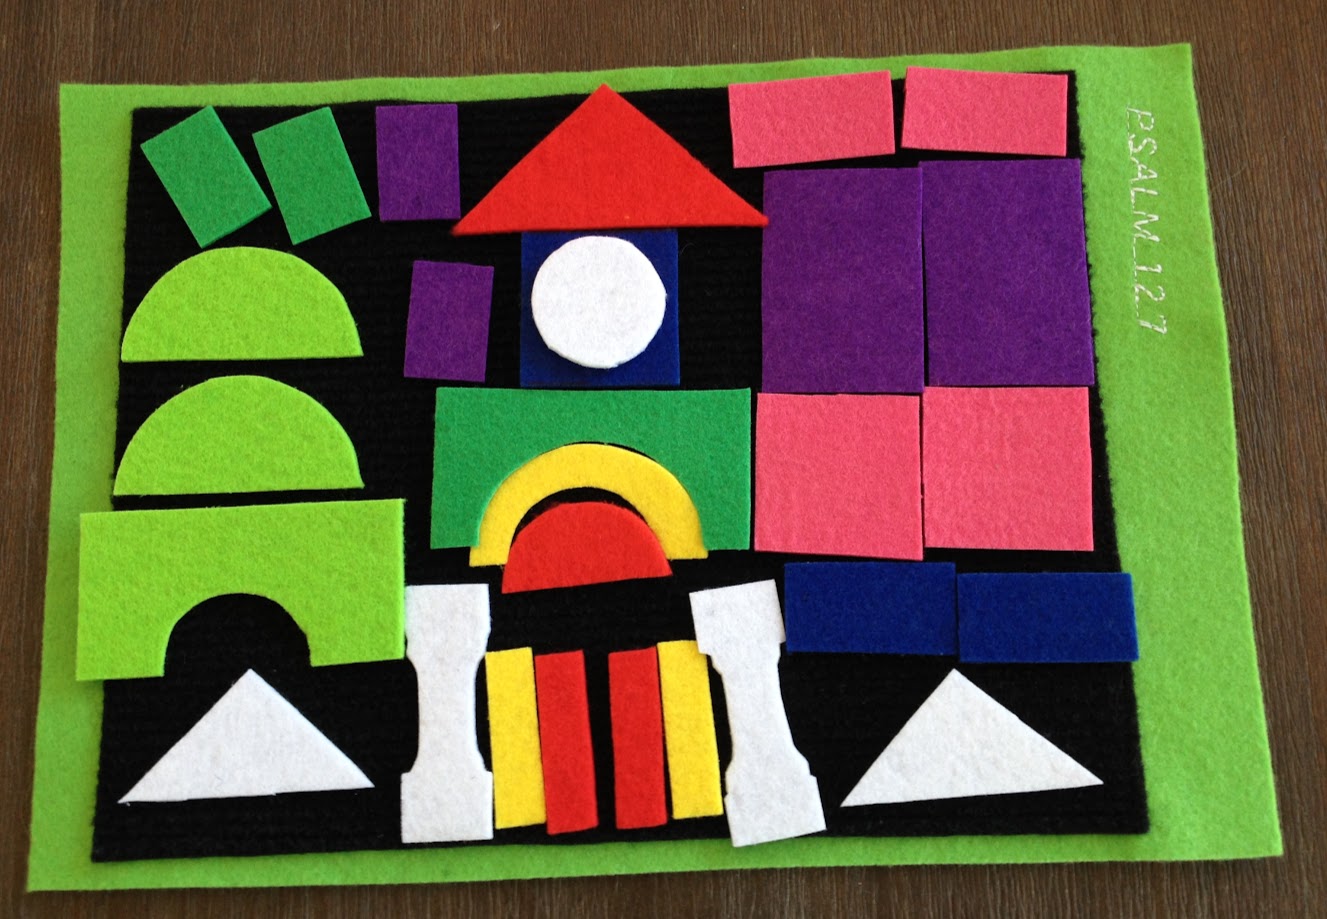
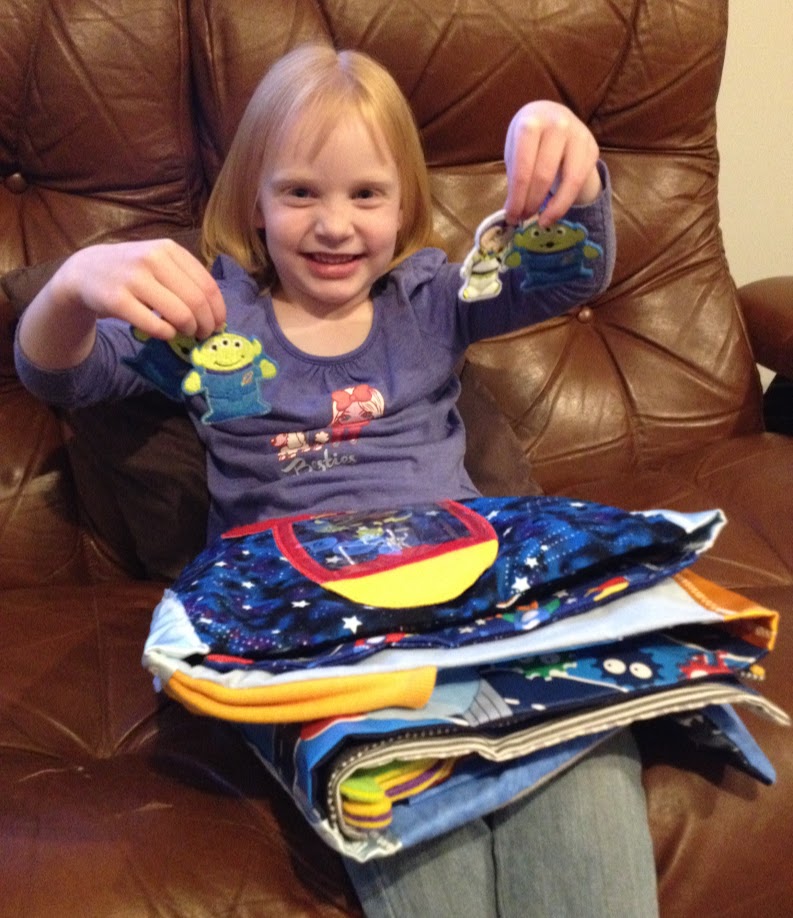
Most of the pages were made by people in a swap that I went in, so I can't take any credit for those. Aside from the cover, the pages I did made for this book were for a Felt Board in a Fabric Quiet Book, and a pocket page to store the felt board pieces and random pieces from other pages. I wanted the pocket to be easily accessible from the felt board pages as it is not constructive to play to be having to turn the page to get to a pocket, especially when there is nothing attaching the pieces, and they would likely fall off and have to be re-positioned.


View of the book folded out with the cover and closure showing.

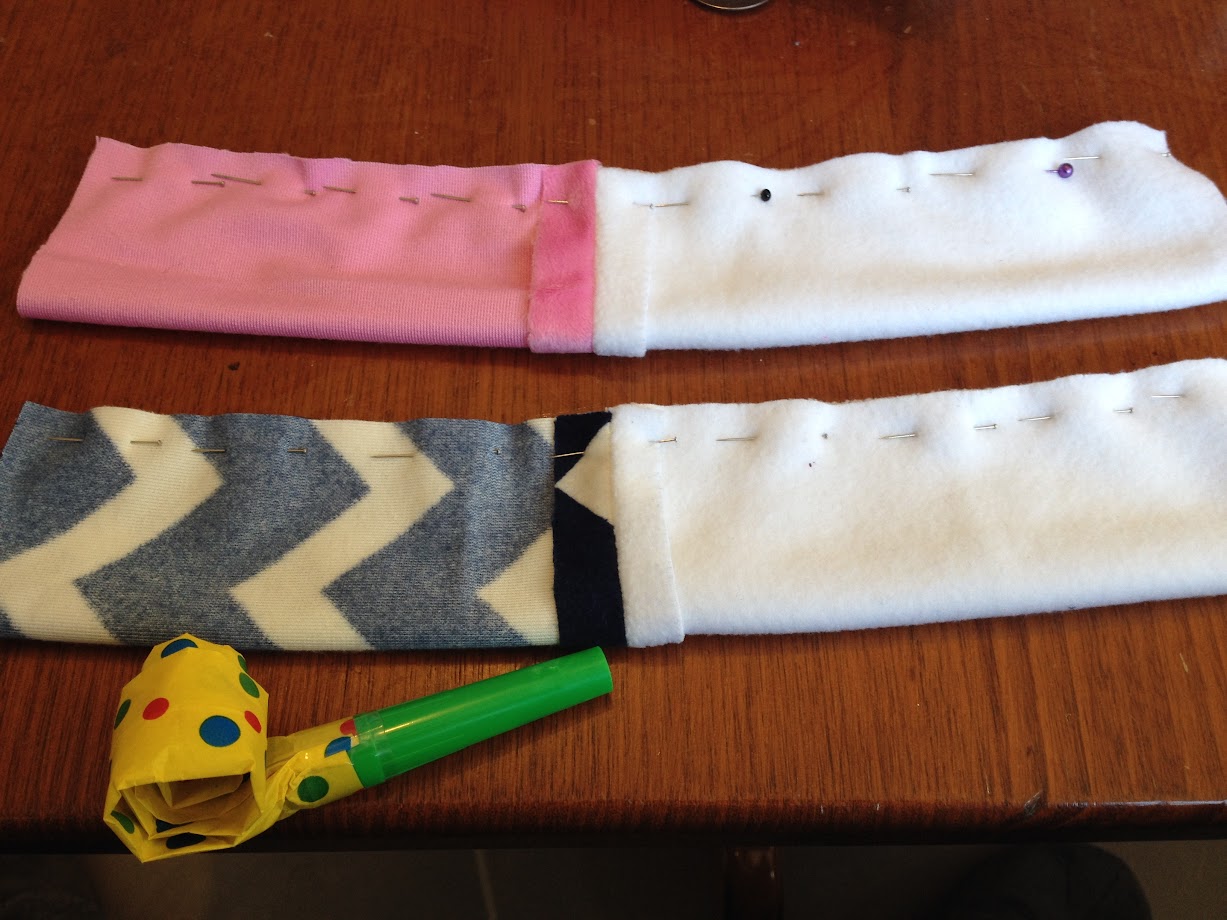
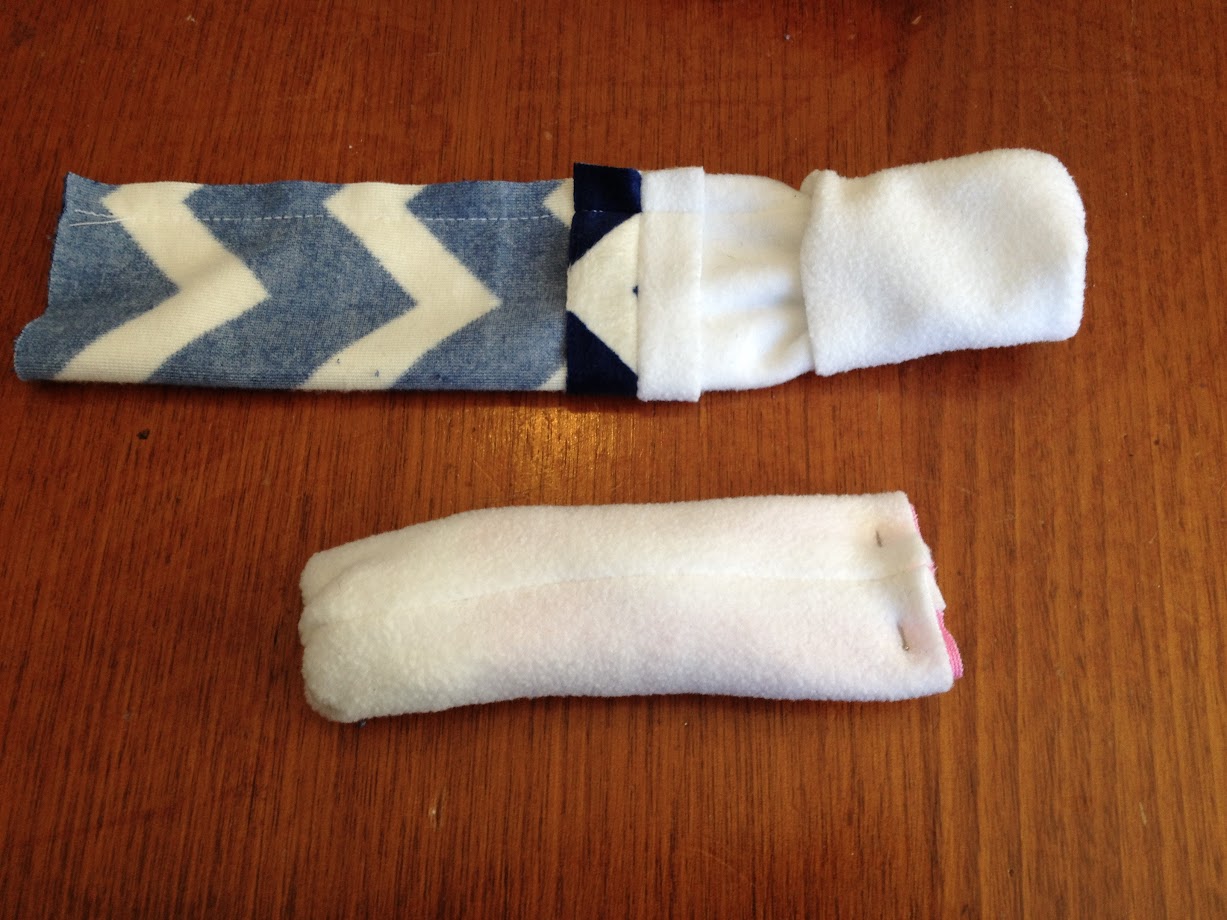
I positioned the pages in the order I wanted them to appear once put together, then sewed the pages on two or three sides (depending on how many ribbon spines or joiners were to be attached to them) with right sides together. Then I turned them so right sides were facing out before attaching ribbons to form spines or joiners between the pages.


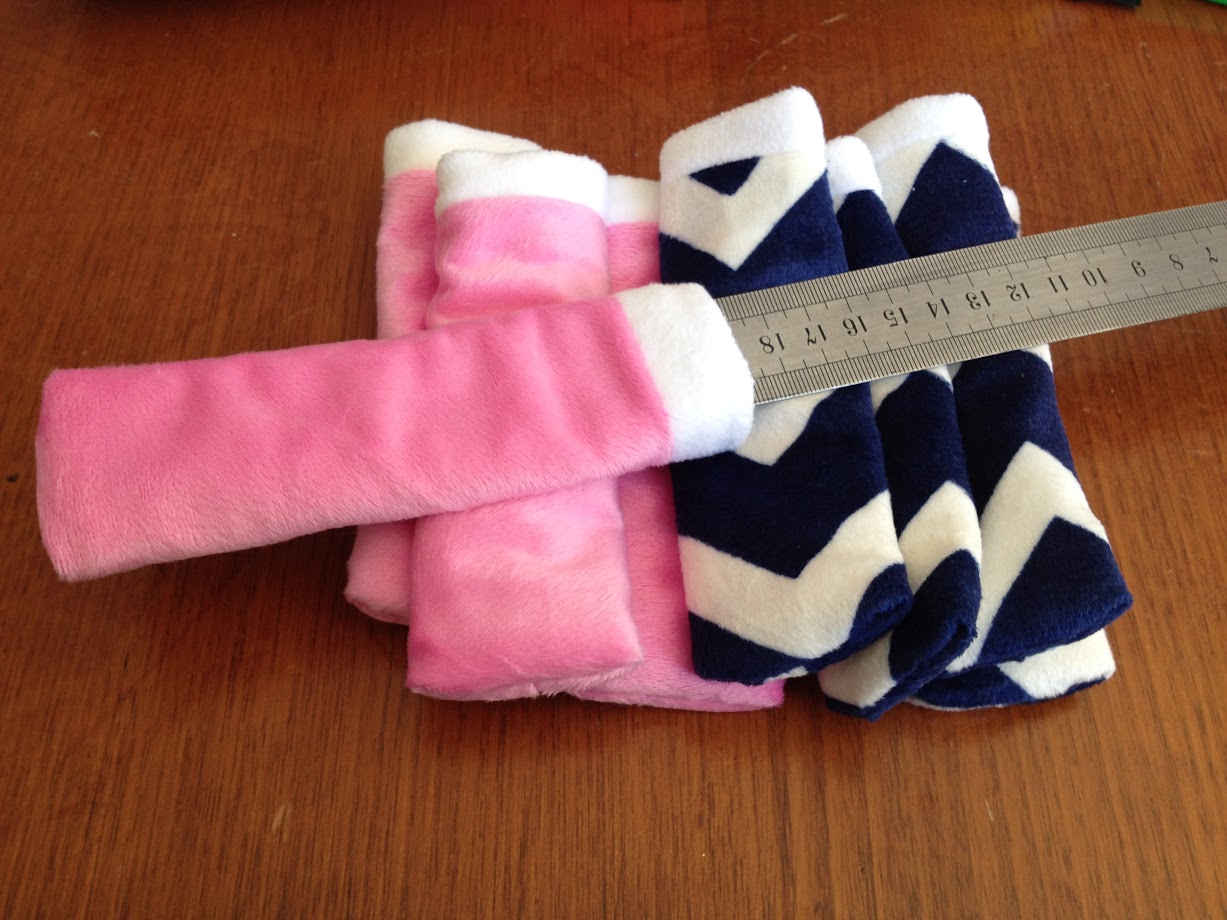
This reduced the bulkiness along the seams, and meant that the pages could be stacked together and sewn down the middle to form a spine so much easier than with my attempt for the Up-cycled Clothes Quiet Book.


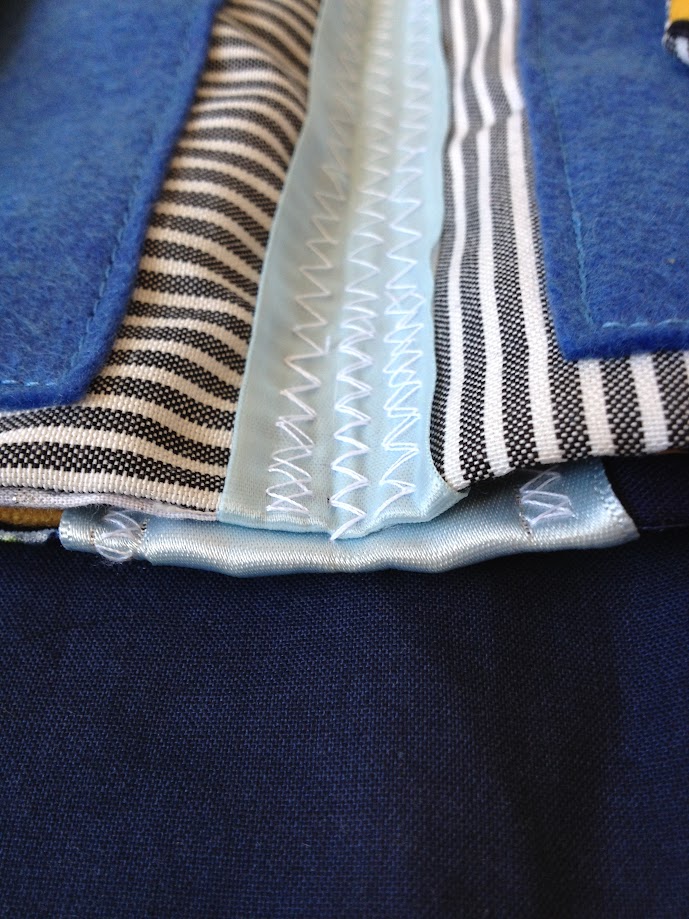
Mum was horrified that I didn't top stitch the pages once I turned them, and is worried that they will fray, especially if I need to wash it. I guess I am just lazy, and I will hand wash it anyway if I need to so I think it will be OK. The zigzag stitch should help with that too.


View of the ribbon joiner attached at the seam where the pillowcase closure is attached.


The book can be folded innumerable ways so that any page can be sitting on top.


Follow Faith and Felt Obsession on FacebookPinterest and You Tube

Let me know if you try my ribbon quiet book binding method!

Saturday 30 September 2017

Genesis 6 - Preparing For The Flood Quiet Book Page

In Genesis chapter 6, God tells Noah to build an ark.


Memory Verse: "And of every living thing of all flesh, you shall bring two of every sort into the ark to keep them alive with you. They shall be male and female." Genesis 6:19

Materials needed to create Preparing For The Flood quiet book page:

  • A4 felt background sheet. I used dark green
  • Betty Lukens Felt book 07 Noah's Ark available at Koorong.
  • sewing thread to best match the page
  • scissors!
Cut out all the pieces for this page and the page itself from the Betty Lukens set. Cut it out as it is, not in the shape of an ark as suggested in the instructions. The Betty Lukens FAQ section has posted a cutting tips PDF.

Sew the Betty Lukens page onto the background felt along three sides, leaving the top edge open to form a pocket. Pop the pieces inside the pocket (or better yet, play with them)!

Finished!


Difficulty Level = Easy, plus No Sew version.

One of the easiest quiet book pages ever!
Just use hot glue wherever sewing is recommended for a no sew version.

Key Learning Areas and Skills

  • Genesis 6 - this page tells the story of how God instructed Noah to build an ark to prepare for The Flood
  • Imaginative Play - get all the animals ready to enter the ark
  • Matching - there are two of each type of animal - match them into pairs
  • Fine Motor Skills - all quiet books encourage fine motor skill development
  • Hand-eye Co-ordination - all quiet books encourage hand-eye co-ordination

Read the Chapter

Genesis 6

Devotional

How big was the ark? Tour the life-size replica at Ark Encounter via you tube.


Or read this article on worldwide flood traditions


Follow Faith and Felt Obsession on FacebookPinterest and You Tube

Are you suprised to see how large the Ark was?

Saturday 16 September 2017

Psalm 127 - Unless the LORD Builds the House Quiet Book Page

In Psalm 127, Solomon notes that a lot of effort is wasted when we try to do things without God's help.


Memory Verse: "Unless the Lord builds the house, those who build it labor in vain. Unless the Lord guards the city, the guard keeps watch in vain." Psalm 127:1

Materials needed to create Unless the LORD Builds the House quiet book page:

  • A4 felt background sheet. I used bright green.
  • Wonderwall in a slightly smaller size than the background
  • sewing thread to best match the wonderwall
  • stiffened felt in various colours
  • Velcro dots - hook side only
  • hot glue gun and glue - optional
  • the free template
  • pen and scissors!
Cut out the blocks from the template and draw around each the correct number of times on the colour of stiffened felt chosen. Cut out the blocks from the stiffened felt. Cut your Velcro dots in half and attach the Velcro dot to the side of the stiffened felt block which has the pen mark on it. You may need to use a little hot glue to hold them in place, especially if your Velcro dots are a little old like some of mine were, and the sticky is not so sticky anymore.

It is difficult to see in the photos, but the white circle is actually attached with a Velcro dot to a dark blue square block. It is meant to be a clock.

Sew your Wonderwall to the background page, leaving enough room for a colourful border and to allow you to sew your pages back to back once you are ready to sew the book together.


Stick your building blocks onto the Wonderwall with the Velcro and re-arrange to make all sorts of buildings.  They should all fit on the page for storage purposes.


Finished!

Difficulty Level = Easy, plus No Sew version.

One of the easiest quiet book pages ever!
Just use hot glue wherever sewing is recommended for a no sew version.

Key Learning Areas and Skills

  • Genesis 6 - This page tells about how much God works behind the scenes - we often forget that it is actually Him keeping our cities and country safe, and helping us to build our lives
  • Shapes - Learn the shapes square, circle, semi-circle, arch, rectangle, pillar, and triangle
  • Touch and Feel - The Wonderwall adds a rough texture to the page
  • Imaginative Play - Build endless combinations of houses, city gates, and walls, etc
  • Fine Motor Skills - all quiet books encourage fine motor skill development
  • Hand-eye Co-ordination - all quiet books encourage hand-eye co-ordination


Read the Chapter

Psalm 127

Devotional

Solomon wrote this Psalm. I'm not sure that this is what he was talking about, but I found it a little fitting because he was the one God selected to build His house - the Temple. David had been busy making plans to build a temple, but God told him "No". I guess David knew better than to argue with God, because it seems he accepted that without complaint. He did all he could so it was ready for Solomon though, gathering supplies and drawing up plans.

Like I mentioned in my last devotional for Luke 12 - Where is Your Treasure Quiet Book Page, no-one can be an expert on everything, and if you want your plans to succeed, it is best to ask for help. God's help is the greatest help, and He can find you the right people to provide you with help too. If God has decreed something is not going to succeed, it ain't gonna, so don't waste your efforts.

Once again, we can't rely on own own efforts to build a good life and to keep ourselves safe. That's God's job, and that's great for us, because otherwise how could we go to sleep at night? But He is always there keeping watch and helping if we ask Him to.


Follow Faith and Felt Obsession on FacebookPinterest and You Tube

Are you letting the LORD build your house?

Sunday 10 September 2017

Deuteronomy 4 - Seek Me Find Me Quiet Book Page

In Deuteronomy chapter 4, God tells the Israelite's His laws and asks them not to let the memory of all the good things he has done for them fade from their hearts.


Memory Verse: "But if from there you seek the Lord your God, you will find him if you seek him with all your heart and with all your soul." Deuteronomy 4:29

Materials needed to create the Seek Me Find Me quiet book page:

  • A4 felt background sheet. I used black
  • flat silver cross (I found one at a bead shop) - see the photo at the end of the post to gauge the size - the Australian 10 cent coin pictured is roughly the size of a US quarter.
  • embroidered heart from an embroidered geometric tulle panel
  • ribbon to trim the heart with
  • sewing thread to best match the page
  • scissors!


Cut out the heart from the tulle panel. Pin it to the background felt sheet and slip the cross underneath. Sew it down with zig zag stitch. Measure the length of ribbon needed and melt the ends to prevent fraying. I turned the ribbon under at each end for a nice finish. Sew your ribbon down on top of your stitching to hide the edge of the heart, beginning and ending at the junction at the top. I sewed mine down with a slight zig zag stitch as well because of the type of ribbon I used. It made the ribbon sit better. 


Finished!

Difficulty Level = Easy, plus No Sew version.

One of the easiest quiet book pages ever!
Just use hot glue wherever sewing is recommended for a no sew version.


Key Learning Areas and Skills

  • Deuteronomy 4 - This page tells about how God is wanting us to seek Him and is ready to forgive if we do
  • Seek and Find - Find the location of the silver cross underneath the embroidered heart
  • Touch and Feel - The embroidery ribbon and sequins on the heart provides a textural quality to the page, and the cross underneath feels hard to the touch, but is hard to find
  • Shapes - learn the shape of a heart and cross
  • Fine Motor Skills - all quiet books encourage fine motor skill development
  • Hand-eye Co-ordination - all quiet books encourage hand-eye co-ordination


Read the Chapter

Deuteronomy 4

Devotional

What a beautiful promise God makes with this verse. He has just warned the Israelite not to follow Idols and what the consequences of doing that would be, but then takes the time to reassure everyone that He is very willing to forgive and will not snub them if they do but then repent. He is always there ready to be found if we choose to, in fact He is longing for us to. No sin is too great for God to forgive, for the price Jesus paid with His life is great enough to save us all.


Follow Faith and Felt Obsession on FacebookPinterest and You Tube

Are you seeking the LORD with all your heart?

Monday 21 August 2017

Back to School - Stick Icy Pole Sleeves Tutorial

Welcome to my back to school project for the Sew Much Fun Blog Hop!

I made some cute and handy stick icy pole sleeves. I remember coming home from school and sitting on the couch at home looking out the window on our back yard eating icy poles. Summer enticed me into it. Generally I don't enjoy eating cold things like ice cream, but icy poles were different because you could bite it through the plastic and your teeth had a little bit of protection. Now your hands do too!


Materials needed to create the Stick Icy Pole Sleeves:

  • polar fleece scrap, 4.5" x 7" per stick icy pole sleeve - I used white
  • minky scrap 4.5" x 6" per stick icy pole sleeve - I used zig-zag and pink
  • and just in case you are lazy like me, I made a printable template you can use

First cut out your pieces and pin them right sides together along the shorter top edge, leaving a generous seam allowance. Sew using a straight stitch or a very slight zig-zag stitch (which is recommended for some machines when sewing stretch fabrics).


Next, pin and sew along the sides to form a tube, leaving a normal amount (1/4") seam allowance. Ensure you pin and keep the seam allowance of your previous stitch turned back on itself to reduce bulk when sewing. Please excuse the party blower that Tahlia insisted on putting in the photo. She thought it was hilarious.


After that, turn your tube starting at the polar fleece end (very important) so that wrong sides are together (very important).


Pin across the cut edge (not the folded edge). Make sure that the polar fleece seem and the minky seam are matched together in the middle of the edge and that the seam allowance is once again folded back against itself to reduce bulk. Sew in place.


Clip the corners.


Then turn inside out. You can use a ruler to help push the ends out properly.


Enjoy your hands-freeze-free stick icy poles!


This project is brought to you as part of the #sewmuchfunbloghop - visit the links below to find out what other Back to School Projects everyone has come up with.


You can also find a lovely array of Christian themed quilt patterns throughout her website.


Follow Faith and Felt Obsession on FacebookPinterest and You Tube

What are your favourite summer sewing items?