In Genesis chapter 14, Abram rescues Lot and receives Melchizedek's blessing.

Memory Verse: “Then Melchizedek king of Salem brought out bread and wine; he was the priest of God Most High. And he blessed him and said:“Blessed be Abram of God Most High,Possessor of heaven and earth;And blessed be God Most High,Who has delivered your enemies into your hand.”And he gave him a tithe of all.” Genesis 14:18-20.
Materials needed to create the Abram Rescues Lot quiet book page:
- A4 felt background sheet - I used black
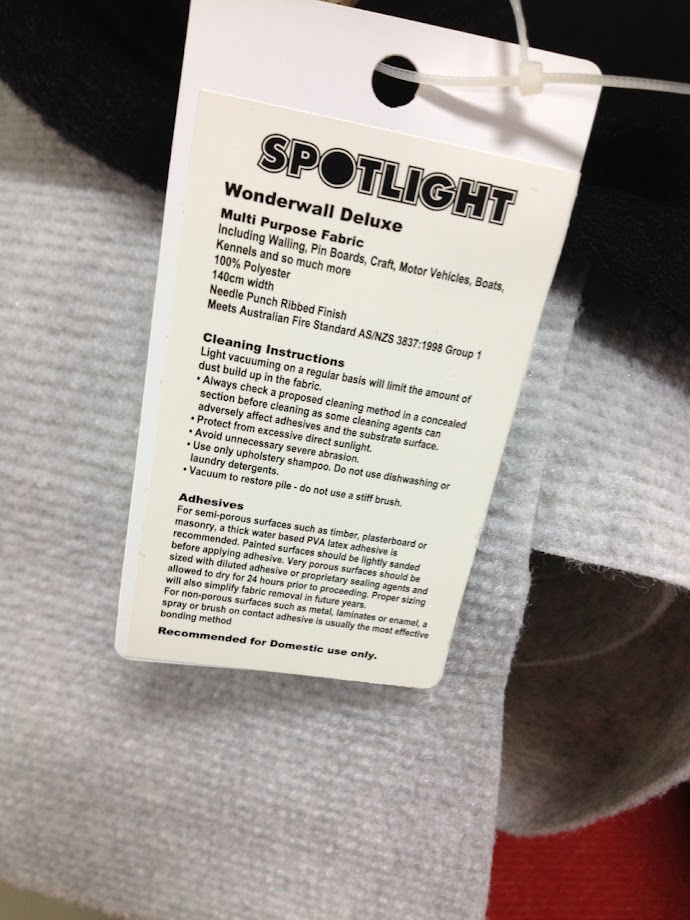
- Wonderwall scraps or velcro fabric in black
- stiff felt in black
- felt scraps in mid blue, light blue, tan, white, gray, yellow, purple and light purple
- sewing thread to best match the page
- velcro (black)
- hot glue gun and glue
- my free Genesis 14 - Abram Rescues Lot Bible Quiet Book Page Template Pattern
 |
| Wonderwall fabric |
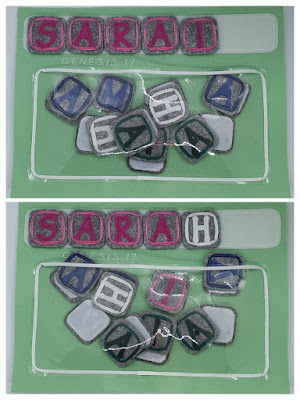
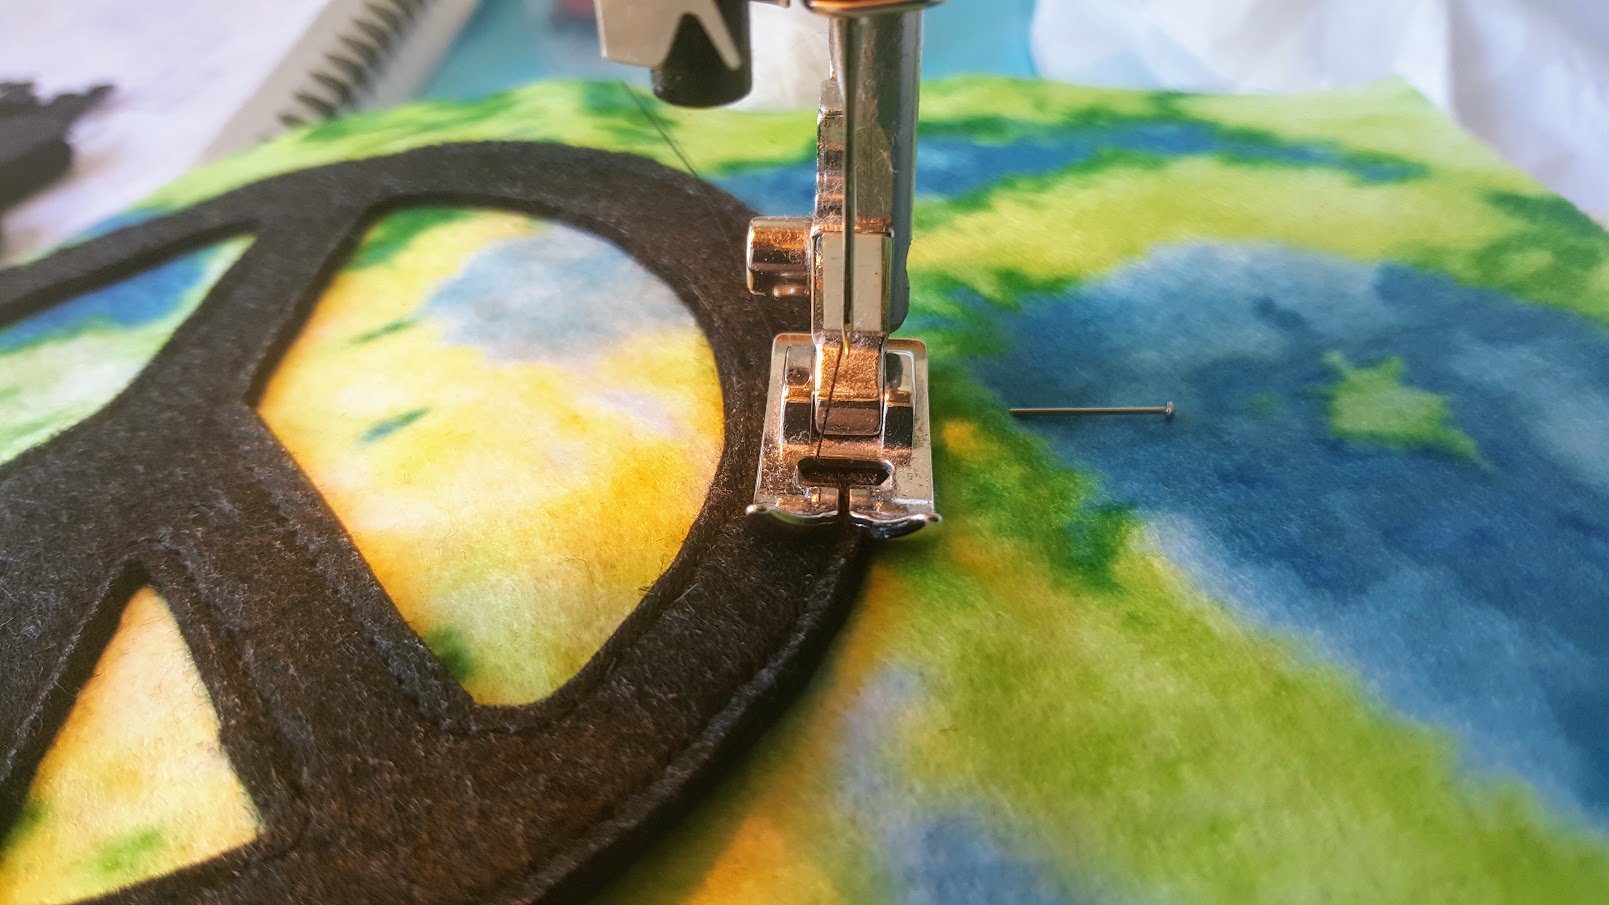
Cut out three larger rectangles of wonderwall or velcro fabric and sew them onto your background page vertically.
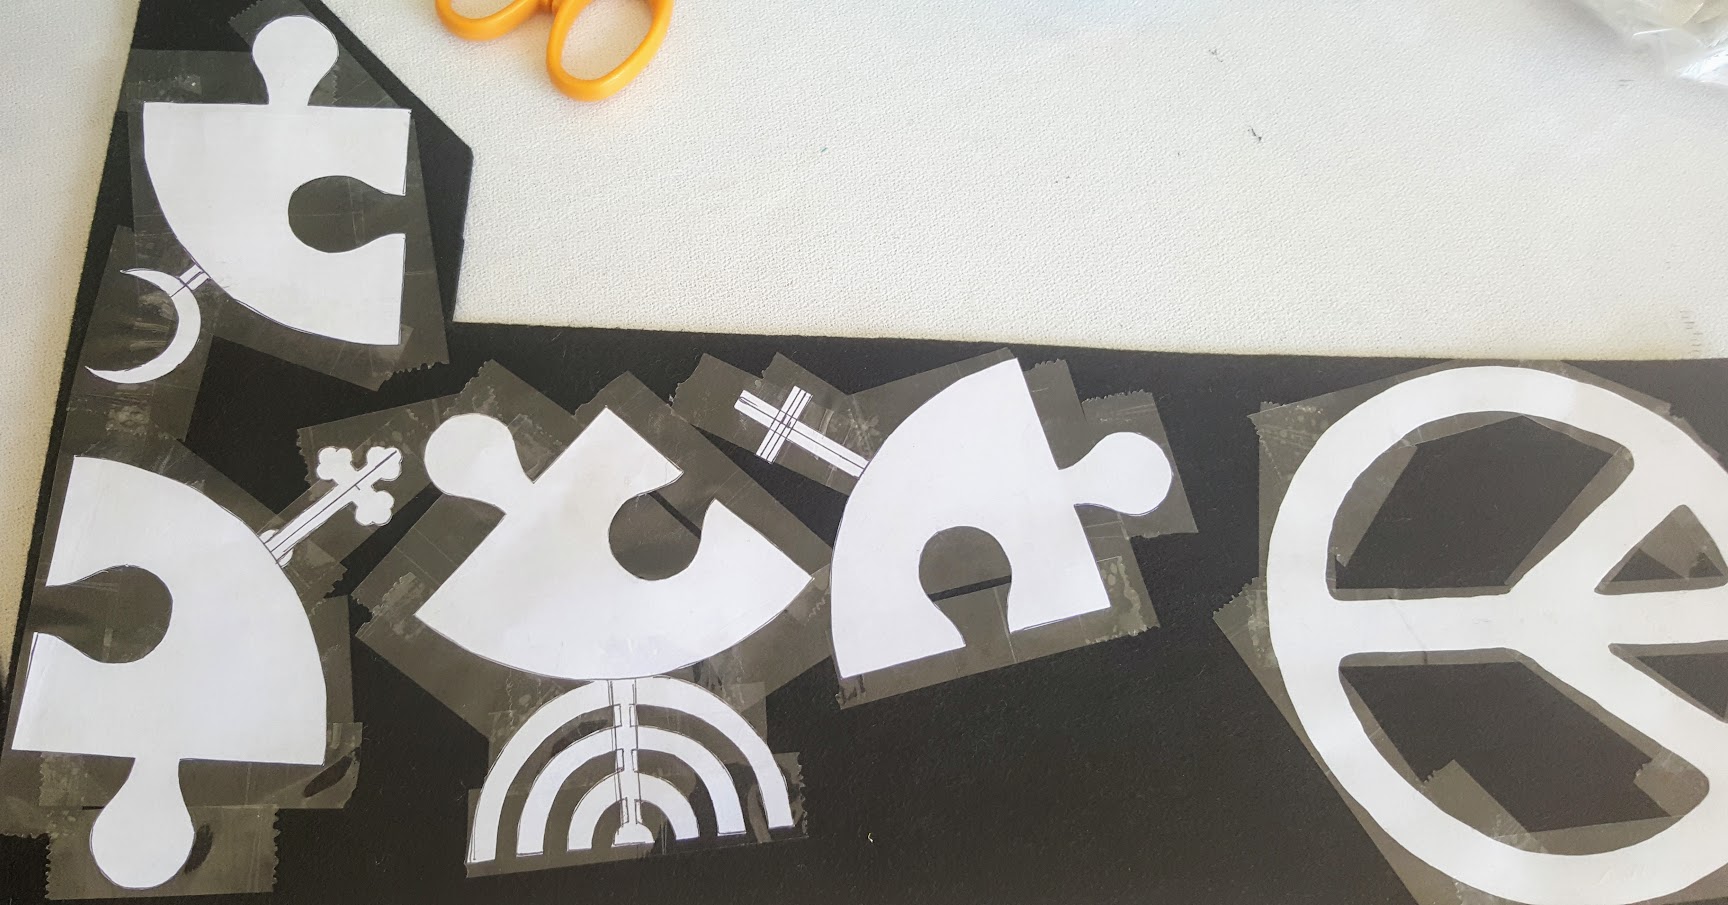
Cut out 9 rectangles of stiff felt and sew them down onto more stiff felt. Cut them out.
Cut out all the pieces for this page and sew them onto the stiff felt rectangles in the following order: tunics, arms, coats, heads, beards, turbans and crown.
Cut lengths of velcro and hot glue them onto the back of the stiff felt rectangles.
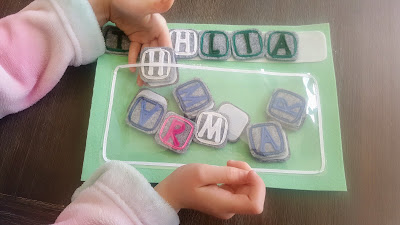
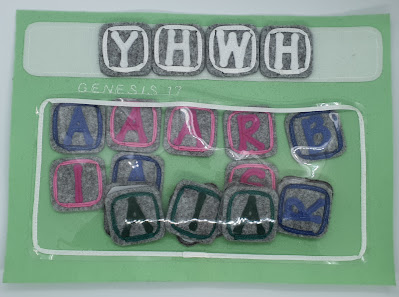
Arrange and re-arrange the pieces to form Abram, Lot and Melchizedek.

Difficulty Level = Easy.
A very easy quiet book page!
Key Learning Areas and Skills
- Genesis 14 - Learn how Abram rescued Lot when he was captured from Sodom
- Puzzle/Matching - Match the three body sections with each other - mix them up for fun!
- Fine Motor Skills - all quiet books encourage fine motor skill development
- Hand-eye Co-ordination - all quiet books encourage hand-eye co-ordination

Read the Chapter
Genesis 14Devotional
Unfortunately I couldn't think of a very relevant activity for this Bible chapter. Perhaps I just didn't understand the story enough.
The obvious thing to talk about here is Melchizedek. He was both a priest and a king, which is very much unusual. And of course the book of Hebrews talks about how Jesus will be a priest in the order of Melchizedek. He will be both our Great High Priest, and our King. Thankfully He has proved Himself trustworthy and selfless by His willingness to take our place and receive the punishment for our sins in order to share His reward of righteousness. You wouldn't want anyone else to be holding all the power.
Perhaps I should have added bread and wine to Melchizedek's arms to make his priesthood clear. He is offering God's people (through Abraham) communion - a representation of Jesus' offering of His body (the bread) and His blood (the wine).