After seeing this "Close Your Clothes" quiet book by Anna of Forty-Two Roads, I knew I had to feed my quiet book obsession and make one. Ok, two of them! This is my version, sans poem, and with a little Aussie flavour.
I made one book for Tahlia and one for my niece Vashti for this last Christmas. They are very similar but a little different in places, so I tried to put the related pages next to each other in the photos, although they are not in the same order in both books due to the page colours clashing.
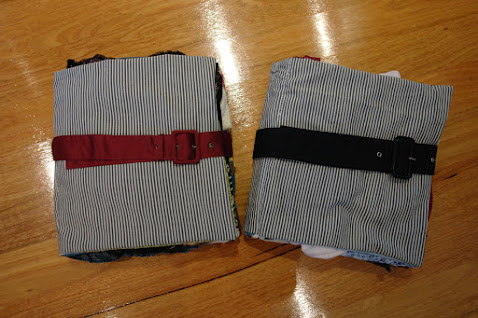
I thought that a belt would be great for the cover as we could use it to keep the books shut.

These pages feature a bow tie that clips together at the back of the collar. You can lift the collar to put it on and then fold it back down once the tie has been clipped together.

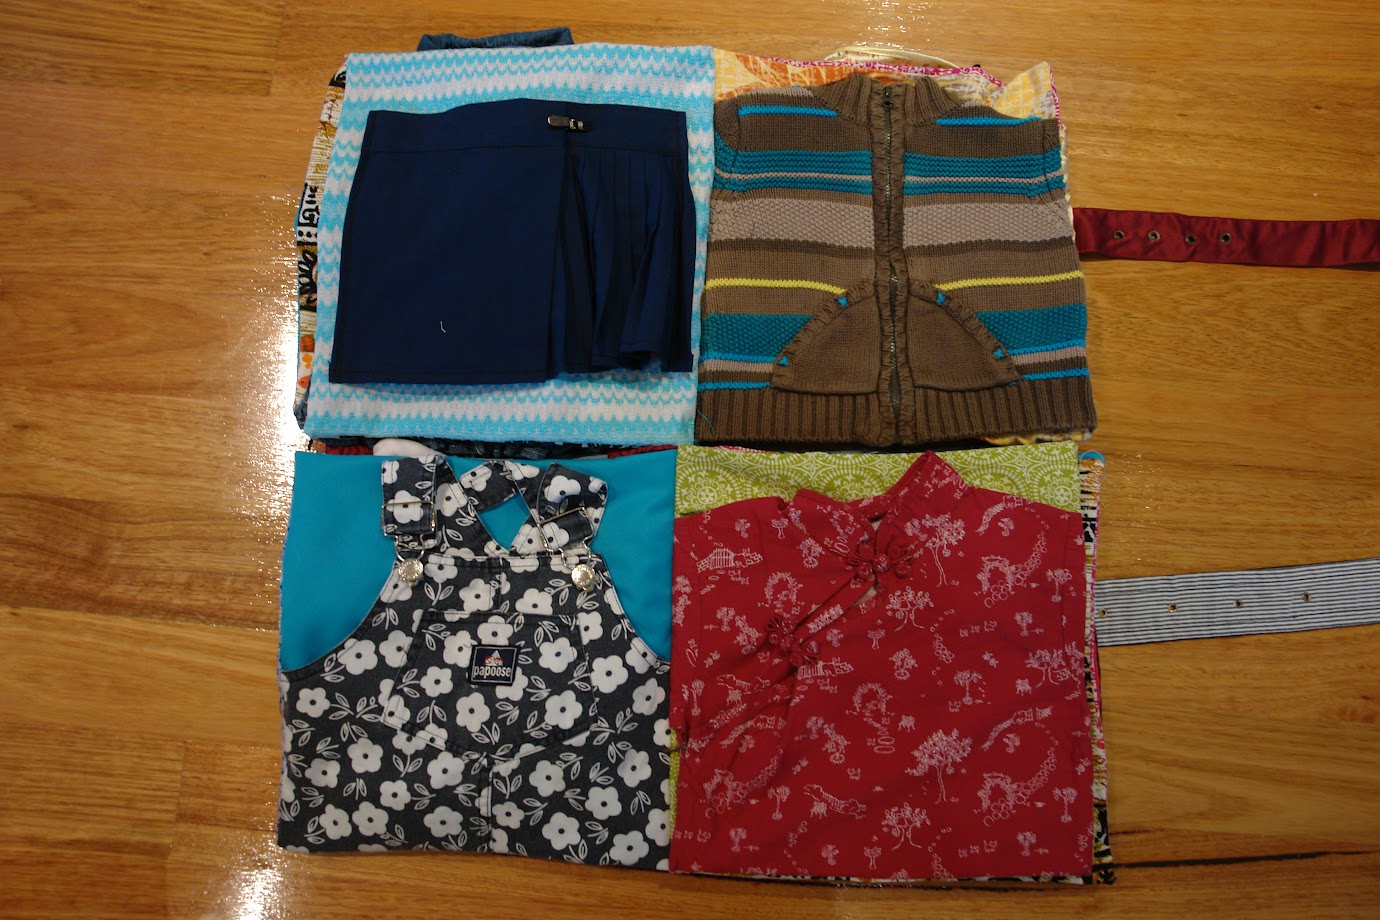
These page features the all popular netball skirt. Netball is very popular in country areas of Australia. Netball skirts are wrap around skirts and are adjustable to to your particular waist size because they fasten using a rail belt slider and adjuster. I never knew what they were called until I started writing this post and had to find out!
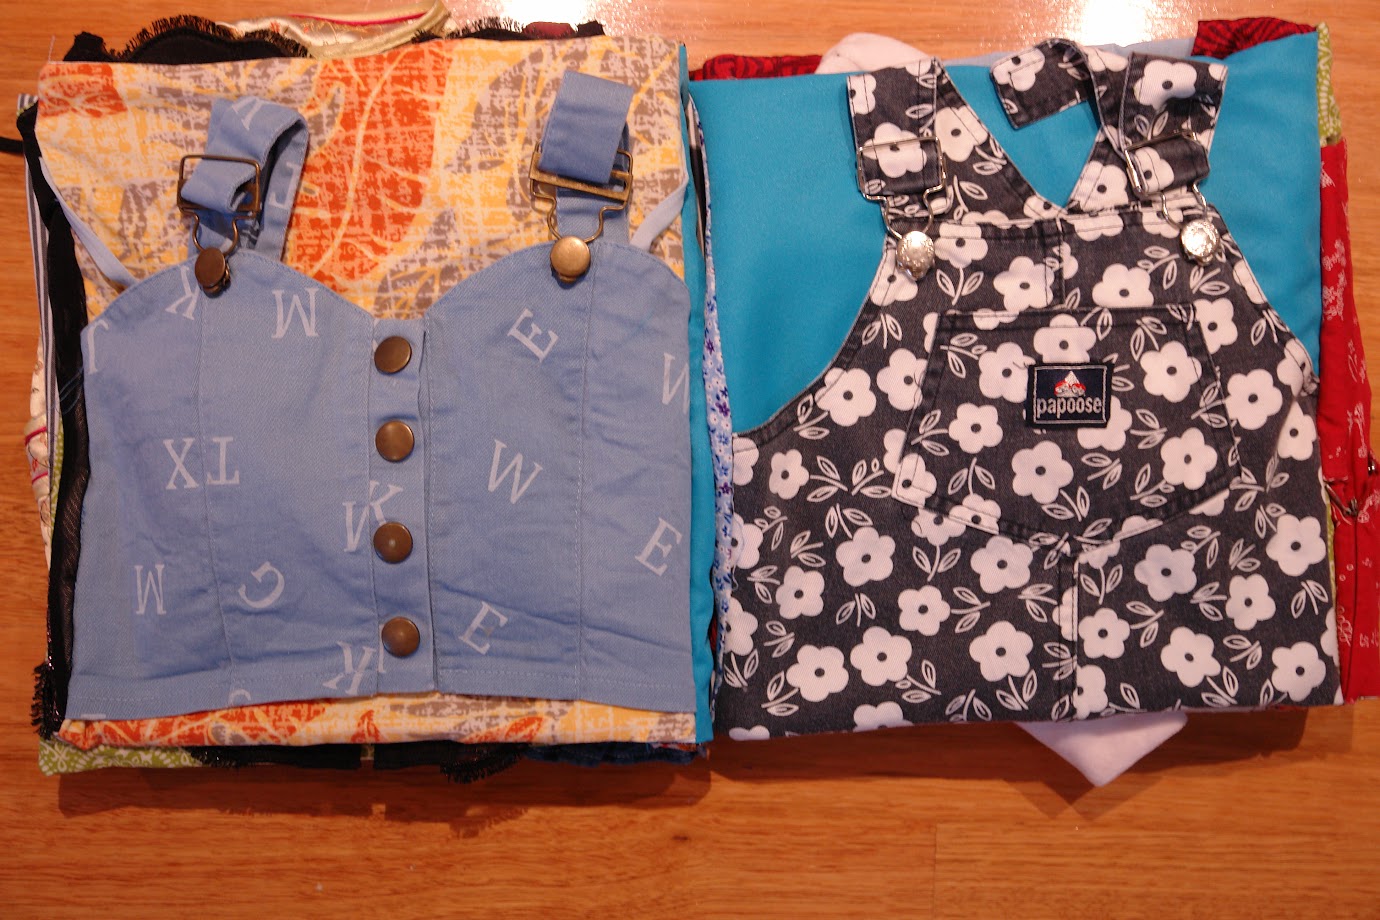
These pages feature overall clips/buckles. They are not as common as they were in the Eighties lol

These pages feature press studs. The other activity for these pages is pulling the arms and legs inside out so they fit inside the book for storage (see below).

There are hidden bras behind the tops. One bra has a front clasp and the other has padding which can be rather easily removed and put back in.
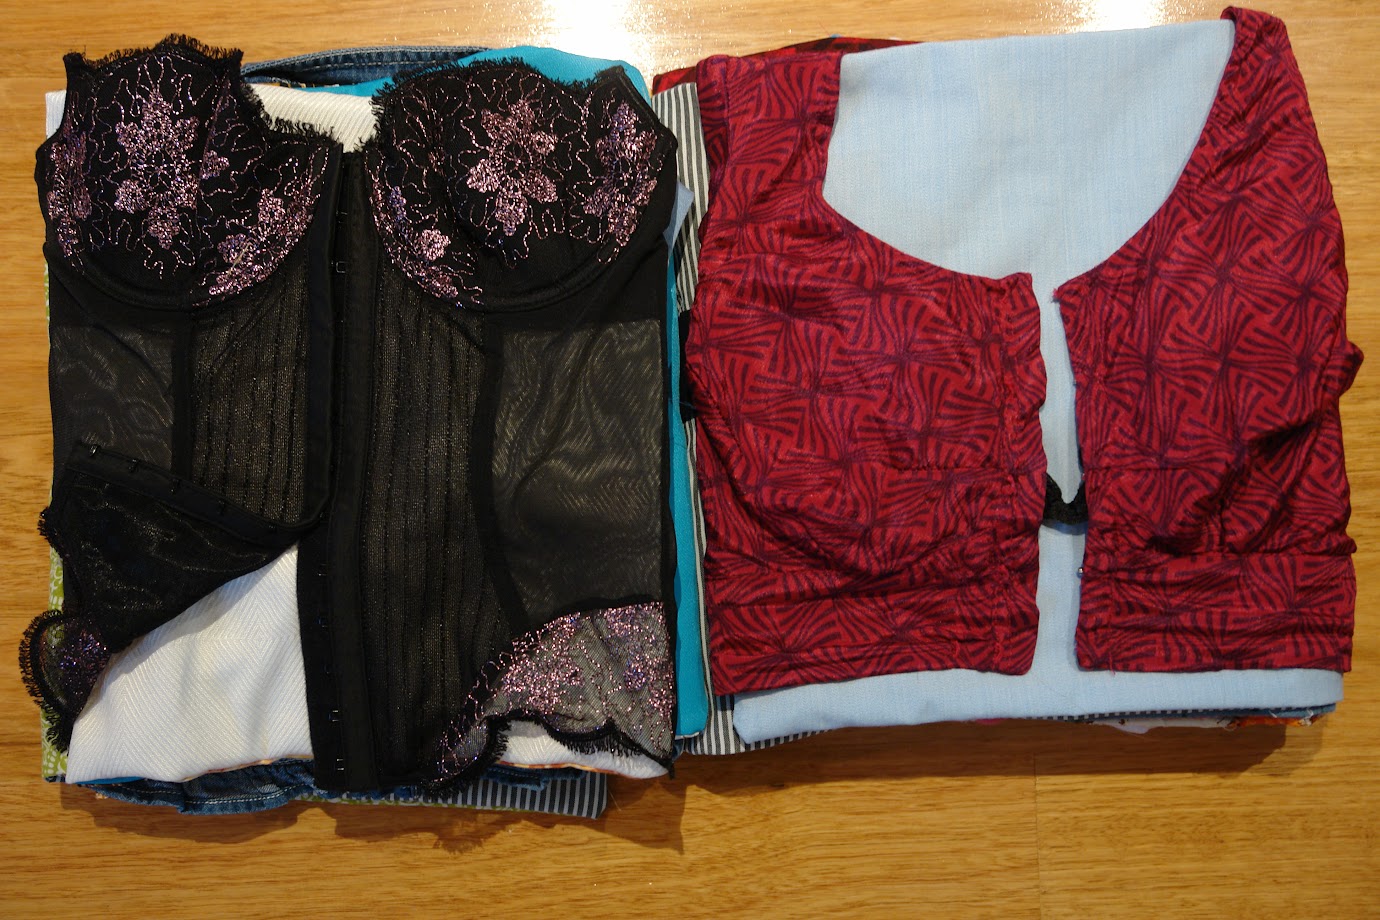
These pages feature hook and eye closures. I guess this is not the book I will be taking along to church hahaha... lingerie might be better suited to the car or home!
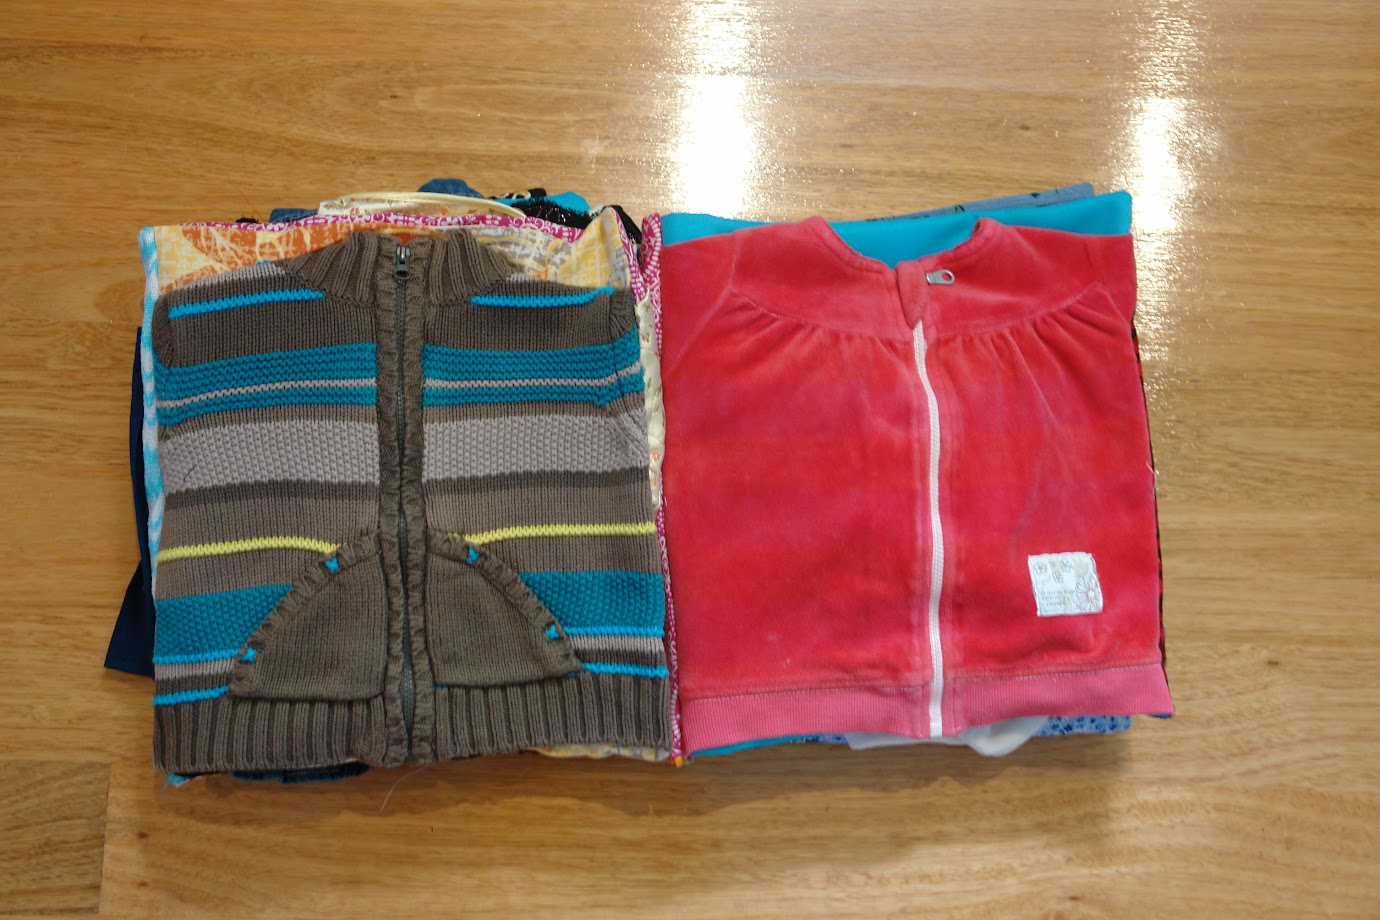
These pages feature zips. I made sure to have them unsecured at the bottom so the girls could learn to thread the zip themselves.

These pages feature Chinese knot buttons. I think they turned out quite pretty.

The last pages feature lacing. One of the books received a bonus belt clip too. I did find it a little difficult finding two of everything I wanted to included, so the two books do vary slightly, but I think they are comparably exciting overall.
I bound the books using the Skinny version of How to Make Cloth Books described by Deborah from Cloth Books for Baby. It worked OK, but I think the bulkiness of my pages made it difficult. The method is better suited to pages without so much going on around the borders.
I made one book for Tahlia and one for my niece Vashti for this last Christmas. They are very similar but a little different in places, so I tried to put the related pages next to each other in the photos, although they are not in the same order in both books due to the page colours clashing.
These pages feature a bow tie that clips together at the back of the collar. You can lift the collar to put it on and then fold it back down once the tie has been clipped together.
These page features the all popular netball skirt. Netball is very popular in country areas of Australia. Netball skirts are wrap around skirts and are adjustable to to your particular waist size because they fasten using a rail belt slider and adjuster. I never knew what they were called until I started writing this post and had to find out!
These pages feature overall clips/buckles. They are not as common as they were in the Eighties lol
These pages feature press studs. The other activity for these pages is pulling the arms and legs inside out so they fit inside the book for storage (see below).
There are hidden bras behind the tops. One bra has a front clasp and the other has padding which can be rather easily removed and put back in.
The baby jumpsuit is located here so that the baby would have ready access to breastmilk :)
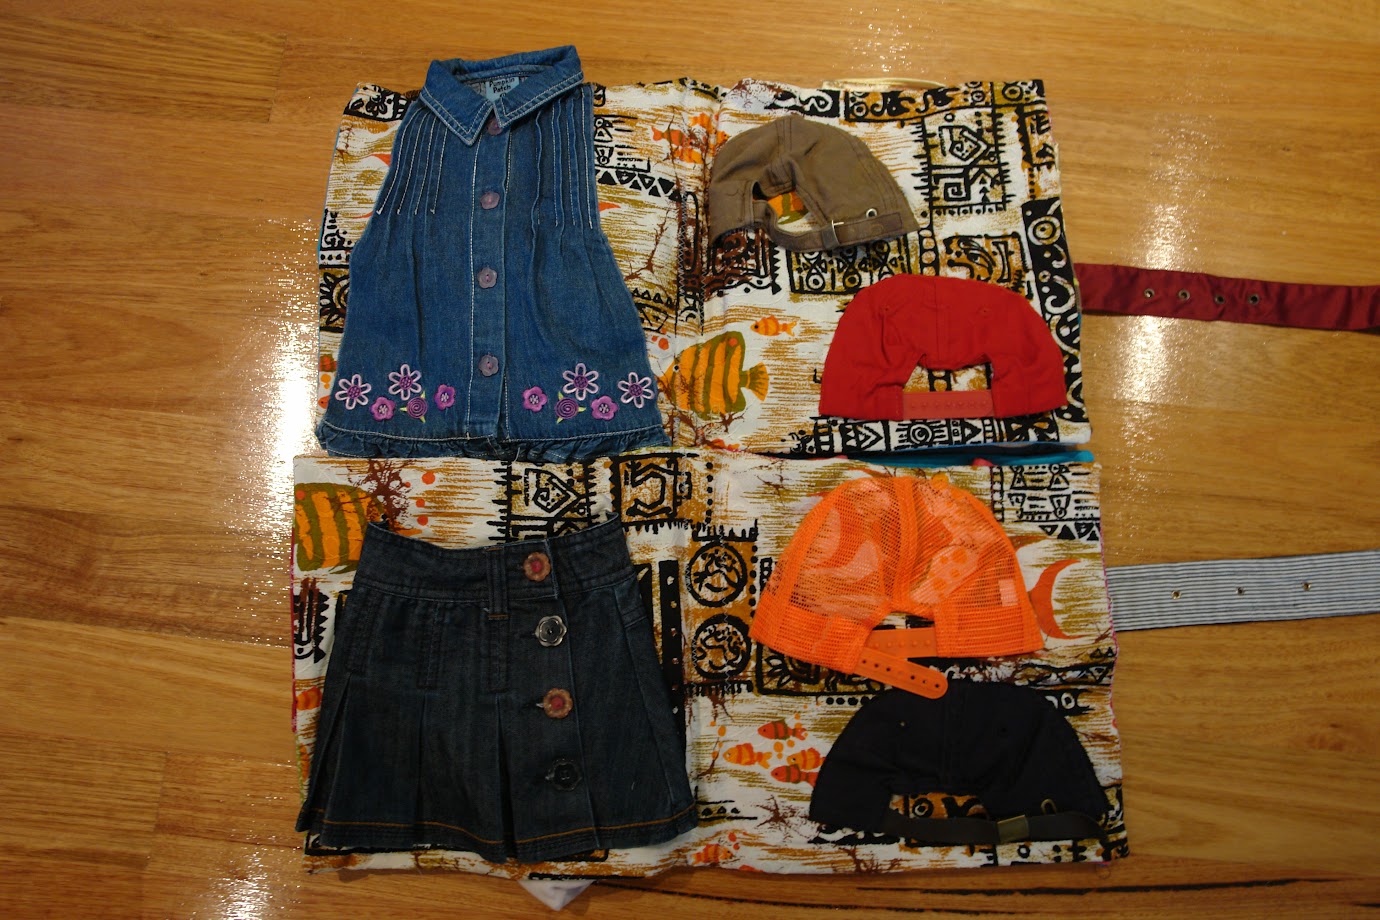
The center pages feature a button-up dress or skirt and hat clips.
These pages feature hook and eye closures. I guess this is not the book I will be taking along to church hahaha... lingerie might be better suited to the car or home!
These pages feature zips. I made sure to have them unsecured at the bottom so the girls could learn to thread the zip themselves.
These pages feature Chinese knot buttons. I think they turned out quite pretty.
I bound the books using the Skinny version of How to Make Cloth Books described by Deborah from Cloth Books for Baby. It worked OK, but I think the bulkiness of my pages made it difficult. The method is better suited to pages without so much going on around the borders.


