Showing posts with label quiet book closure. Show all posts

Sunday 30 April 2017

Pillowcase Quiet Book Closure

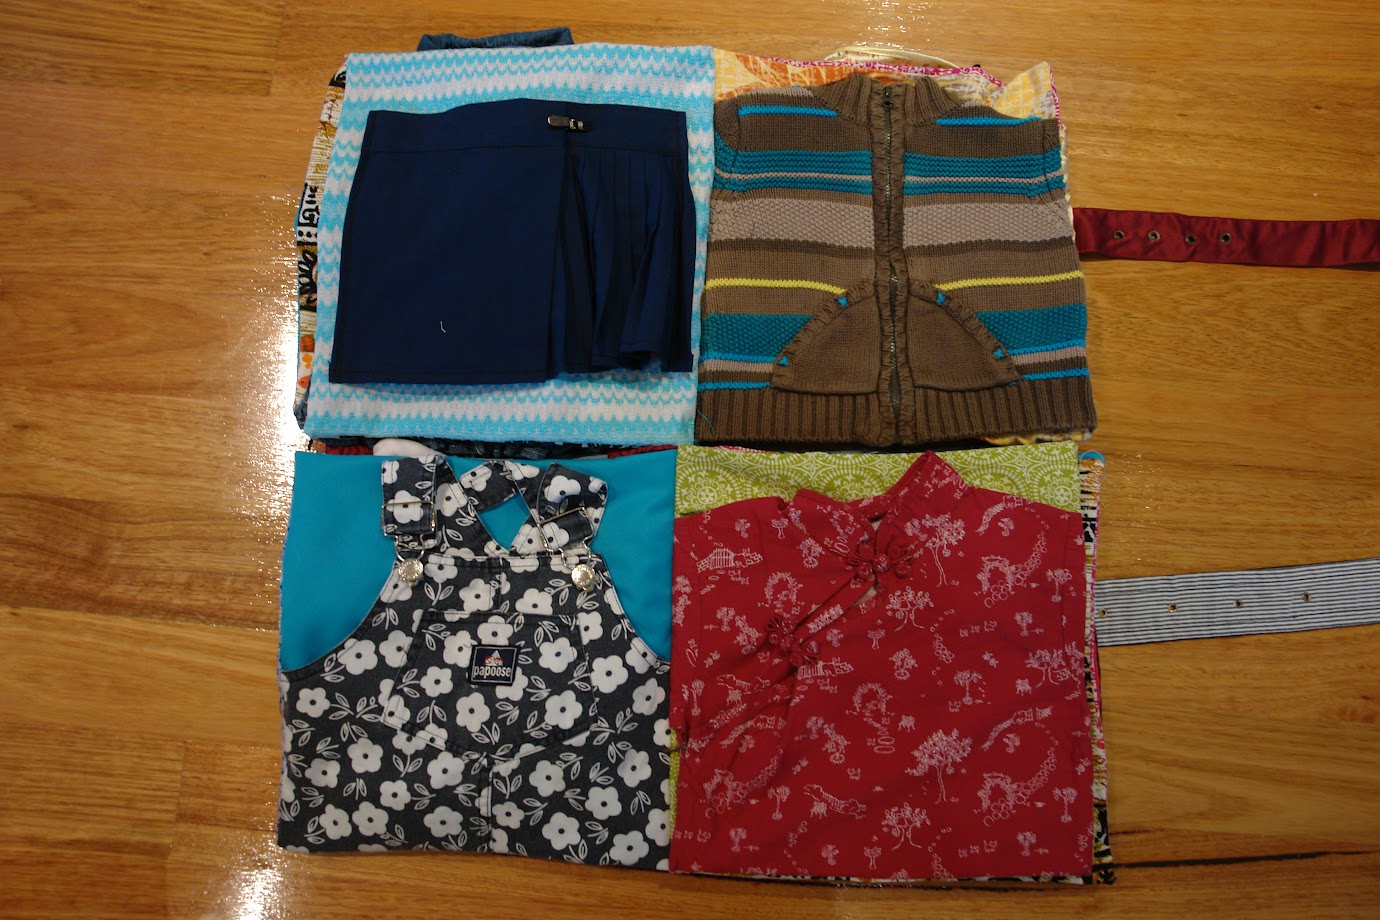
I am always trying to think of imaginative ways to keep a quiet book closed that don't take a lot of effort to sew. If it also helps to keep stray pieces inside it's a big bonus. So here is my next quiet book closure idea which I have named the "Pillowcase"!


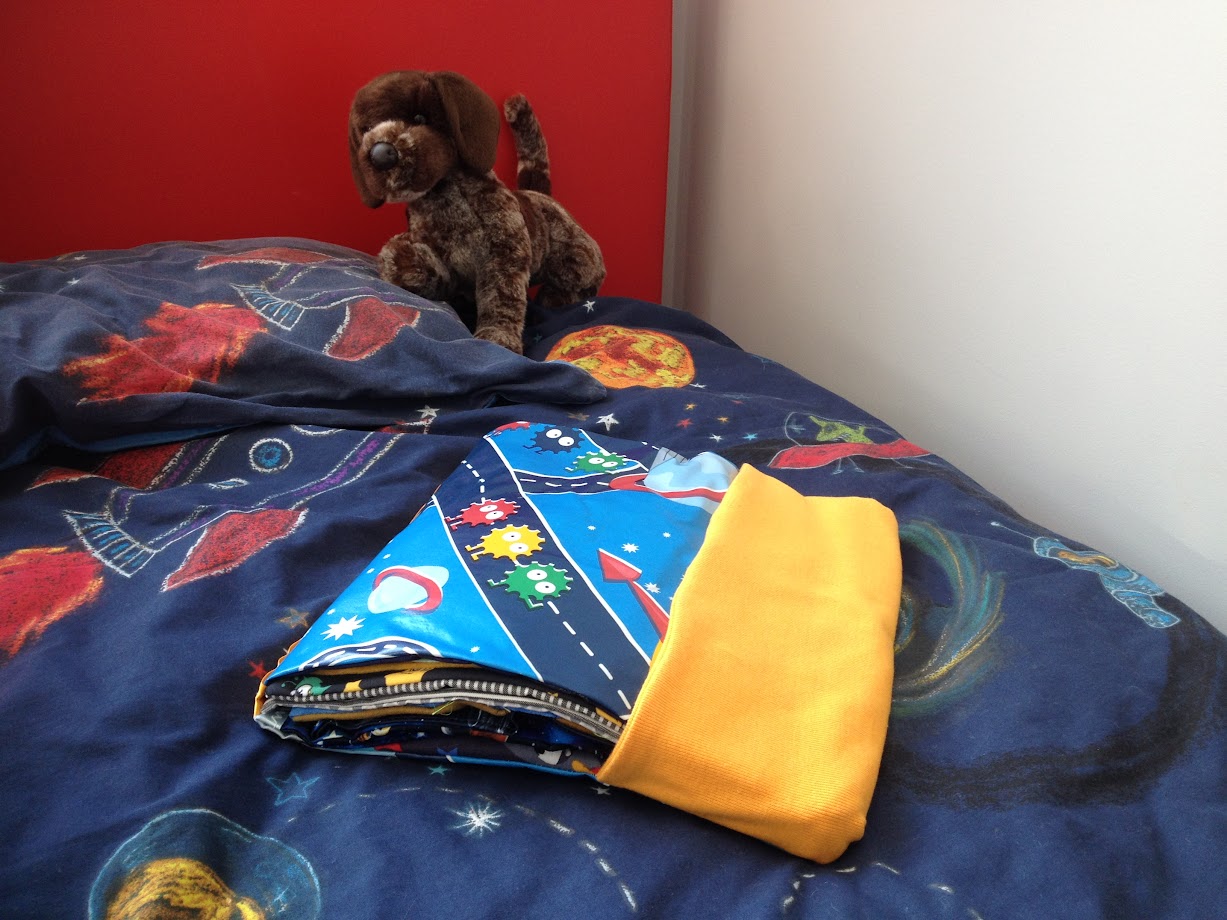
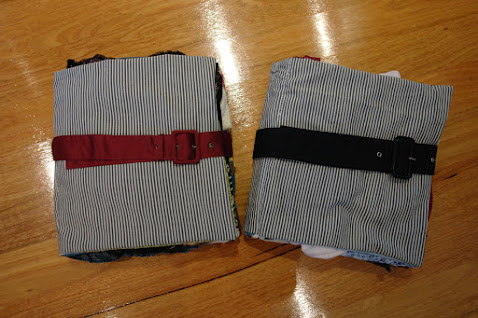
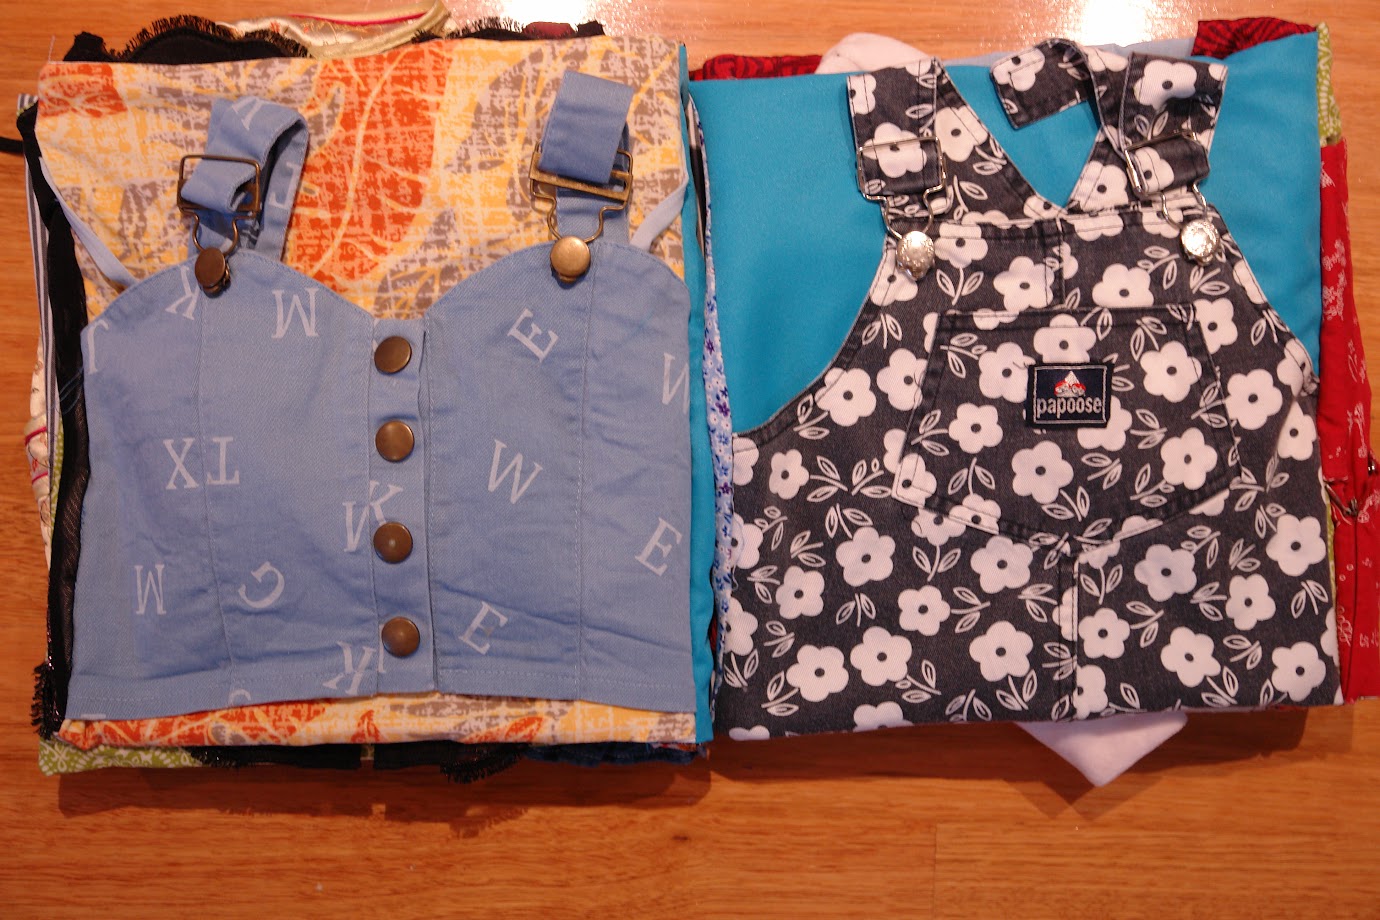
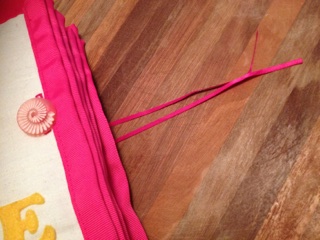
It is easy to see that I got the idea from a pillowcase... I made a flap on the back page from rib knit fabric which folds over to enclose the pages and front cover and helps to keep small pieces from falling out (Heaven forbid). I used a folded piece of rib knit so that there would be no need for a seam along the turning edge that might impede the ability to fold it over (and might look unattractive). I did put a pin tuck close to either corner, but I don't think I would recommend it. Since the rib fabric was already doubled it made it rather hard to sew due to it's thickness, and because rib knit is stretchy and the whole reason I used it, I'm pretty sure it wouldn't be necessary. Although if your quiet book is very thick, maybe it would be an idea to try. It might work better if you put a separate pin tuck slightly over from each other in the top and bottom layers of the rib knit fabric instead of pin tucking the two layers together like I did - who knows why.


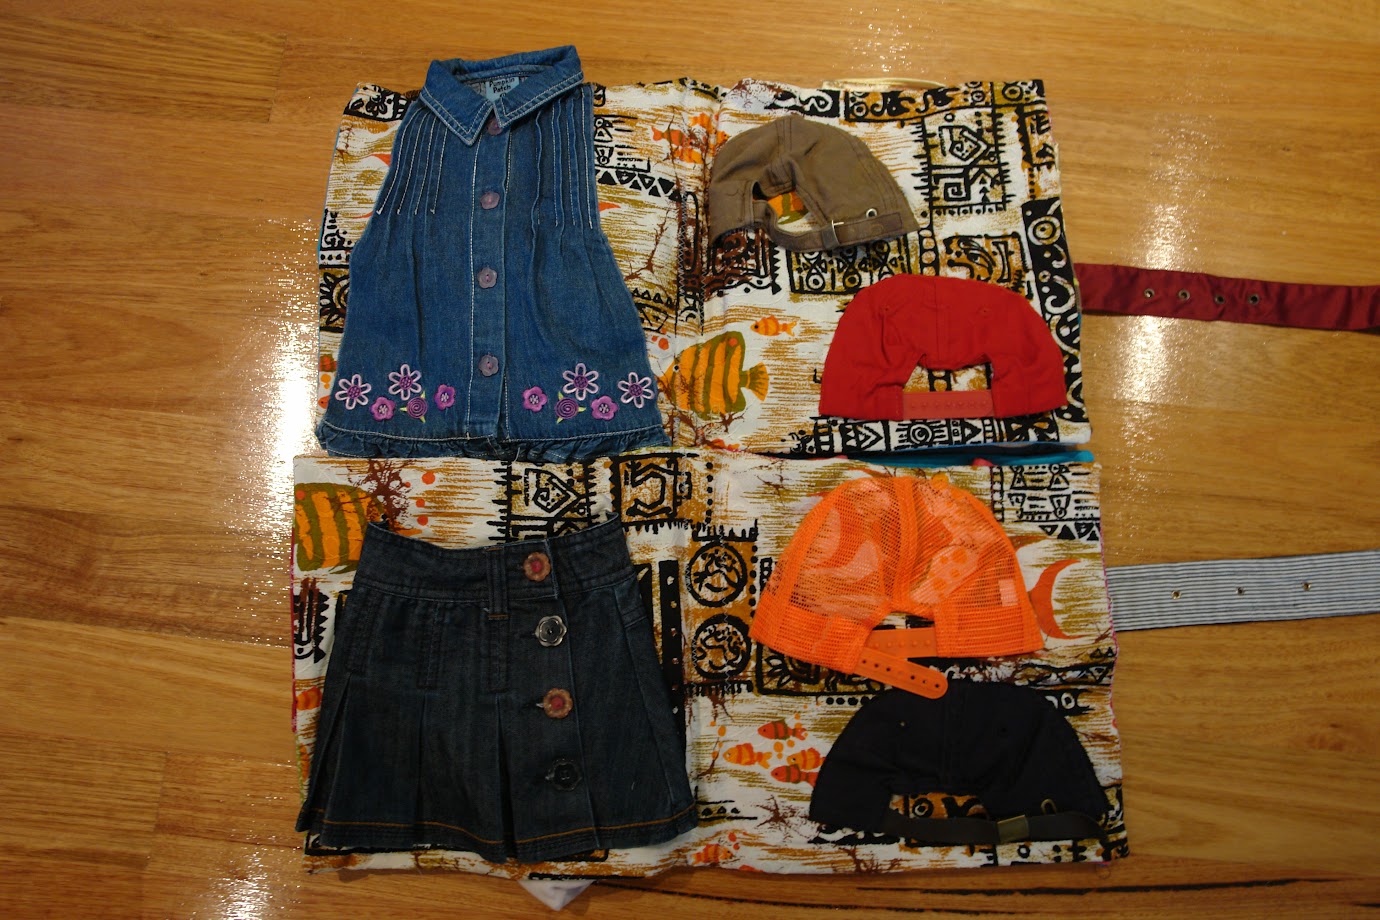
This method is really easy for kids to open. That may be a positive or negative depending on the children you are designing a quiet book for! I don't like Tahlia to play with them without my supervision yet, so I store them out of reach.


I like the look of it and it saved me from having to do any decoration on the front cover. You could easily put the flap on the front cover instead so it folds over the back if you preferred.


Follow Faith and Felt Obsession on FacebookPinterest and You Tube

How do you like the pillowcase closure idea?

Thursday 9 February 2017

Up-cycled Clothes Quiet Book

After seeing this "Close Your Clothes" quiet book by Anna of Forty-Two Roads, I knew I had to feed my quiet book obsession and make one. Ok, two of them! This is my version, sans poem, and with a little Aussie flavour.


I made one book for Tahlia and one for my niece Vashti for this last Christmas. They are very similar but a little different in places, so I tried to put the related pages next to each other in the photos, although they are not in the same order in both books due to the page colours clashing.


I thought that a belt would be great for the cover as we could use it to keep the books shut.


These pages feature a bow tie that clips together at the back of the collar. You can lift the collar to put it on and then fold it back down once the tie has been clipped together.


These page features the all popular netball skirt. Netball is very popular in country areas of Australia. Netball skirts are wrap around skirts and are adjustable to to your particular waist size because they fasten using a rail belt slider and adjuster. I never knew what they were called until I started writing this post and had to find out!


These pages feature overall clips/buckles. They are not as common as they were in the Eighties lol


These pages feature press studs. The other activity for these pages is pulling the arms and legs inside out so they fit inside the book for storage (see below).


There are hidden bras behind the tops. One bra has a front clasp and the other has padding which can be rather easily removed and put back in.

The baby jumpsuit is located here so that the baby would have ready access to breastmilk :)


The center pages feature a button-up dress or skirt and hat clips.


These pages feature hook and eye closures. I guess this is not the book I will be taking along to church hahaha... lingerie might be better suited to the car or home!


These pages feature zips. I made sure to have them unsecured at the bottom so the girls could learn to thread the zip themselves.


These pages feature Chinese knot buttons. I think they turned out quite pretty.


The last pages feature lacing. One of the books received a bonus belt clip too. I did find it a little difficult finding two of everything I wanted to included, so the two books do vary slightly, but I think they are comparably exciting overall.


I bound the books using the Skinny version of How to Make Cloth Books described by Deborah from Cloth Books for Baby. It worked OK, but I think the bulkiness of my pages made it difficult. The method is better suited to pages without so much going on around the borders.


Follow Faith and Felt Obsession on FacebookPinterest and You Tube

Which is your favourite page in these books?

Sunday 27 March 2016

Post Binding Quiet Book Closure

Normally you would put a closure on a book before you finish binding and doing your cover... But I couldn't decide whether/how I was going to do it and kept going anyway. They say necessity is the mother of invention, so here is my solution:


As I was pondering how I was going to make a closure for my finished book without making it look terrible with stitching showing all over it, I came across these display cuff-links.


They inspired this closure idea for when you have already bound your quiet book, but find that you really do need to be able to close it and don't want to waste your energy re-sewing the cover.


Materials Needed to create a Post Binding Quiet Book Closure:

  • Two large buttons
  • short piece of ribbon or elastic
  • thread
  • sewing machine with buttonhole function
  • one tiny button if using a one step buttonhole function

If using a one step buttonhole function, first do a practice buttonhole for both your small and large buttons. That way you can work out the length and center your buttonholes along the edge you want to put the closure on. Make large buttonholes along every page edge except the last, where you will make a very small buttonhole. This will ensure that the buttons and ribbon cannot fall out and get lost. 


Remember to change buttons in the measurement end of your one step buttonhole foot at the appropriate times! Also, I found that the button would often pop out of the foot when I removed each page because they were fairly thick. Watch out for that, or your buttonholes will get progressively smaller.

Instructions for how to use a one step buttonhole function can be found towards the end of my Easy Peasy Lei Flower Quiet Book Page.


Use a seam-ripper to open up the buttonholes. I sewed the buttonhole on this counting page twice since I would be cutting through a ribbon on the page.


Thread the ribbon through the button that you want showing on the top.


Then thread both ends of the ribbon through all of the buttonholes. Turn the book over and thread on the second button.


Tie a knot in the ribbon, then do a double-knotted bow so it can't come undone.


Done!


Here is Tahlia keeping herself busy barricading the kitchen while I was book binding.


Follow Faith and Felt Obsession on FacebookPinterest and You Tube

Has this solved your problem of how to add a closure after you have already bound your quiet book? Comment below!